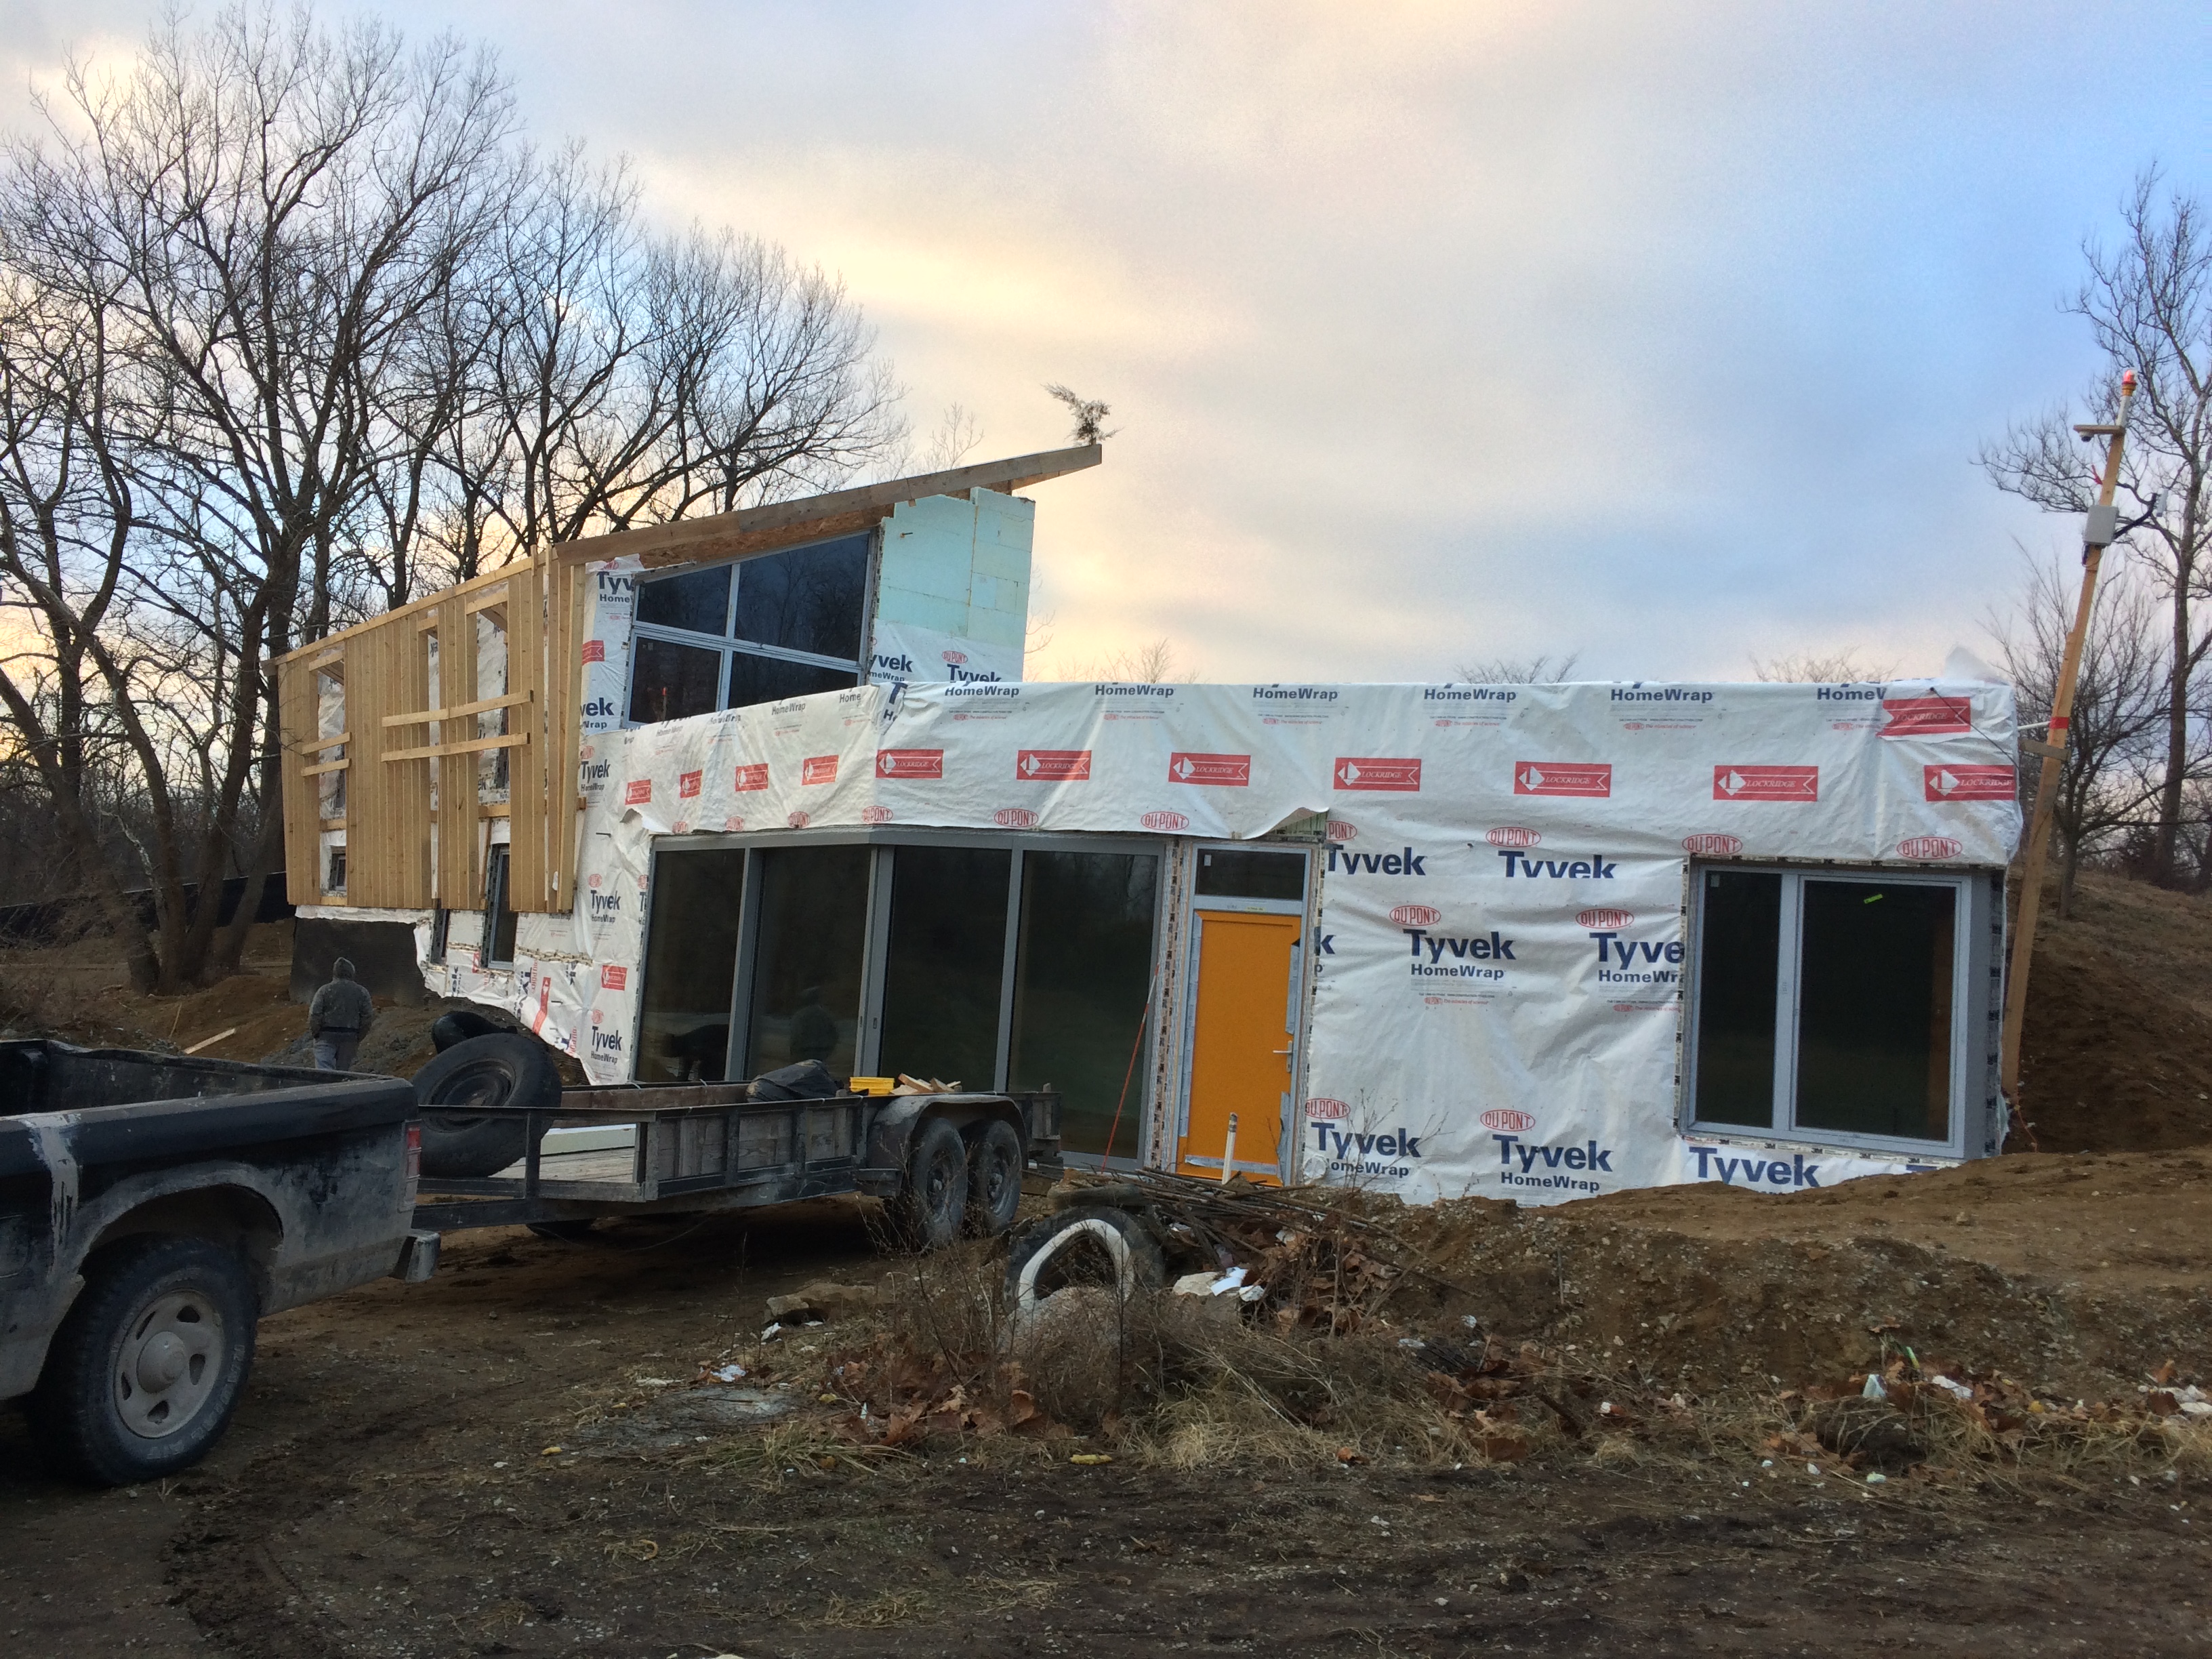
I was on-site last week (Jan. 9-10) for the installation of Zola windows. This was both exciting and nerve-wracking for a few reasons:
- Installing the windows correctly is critical to both the water management strategy and air tightness of the house. I wanted to make sure the details I had drawn actually worked out in practice.
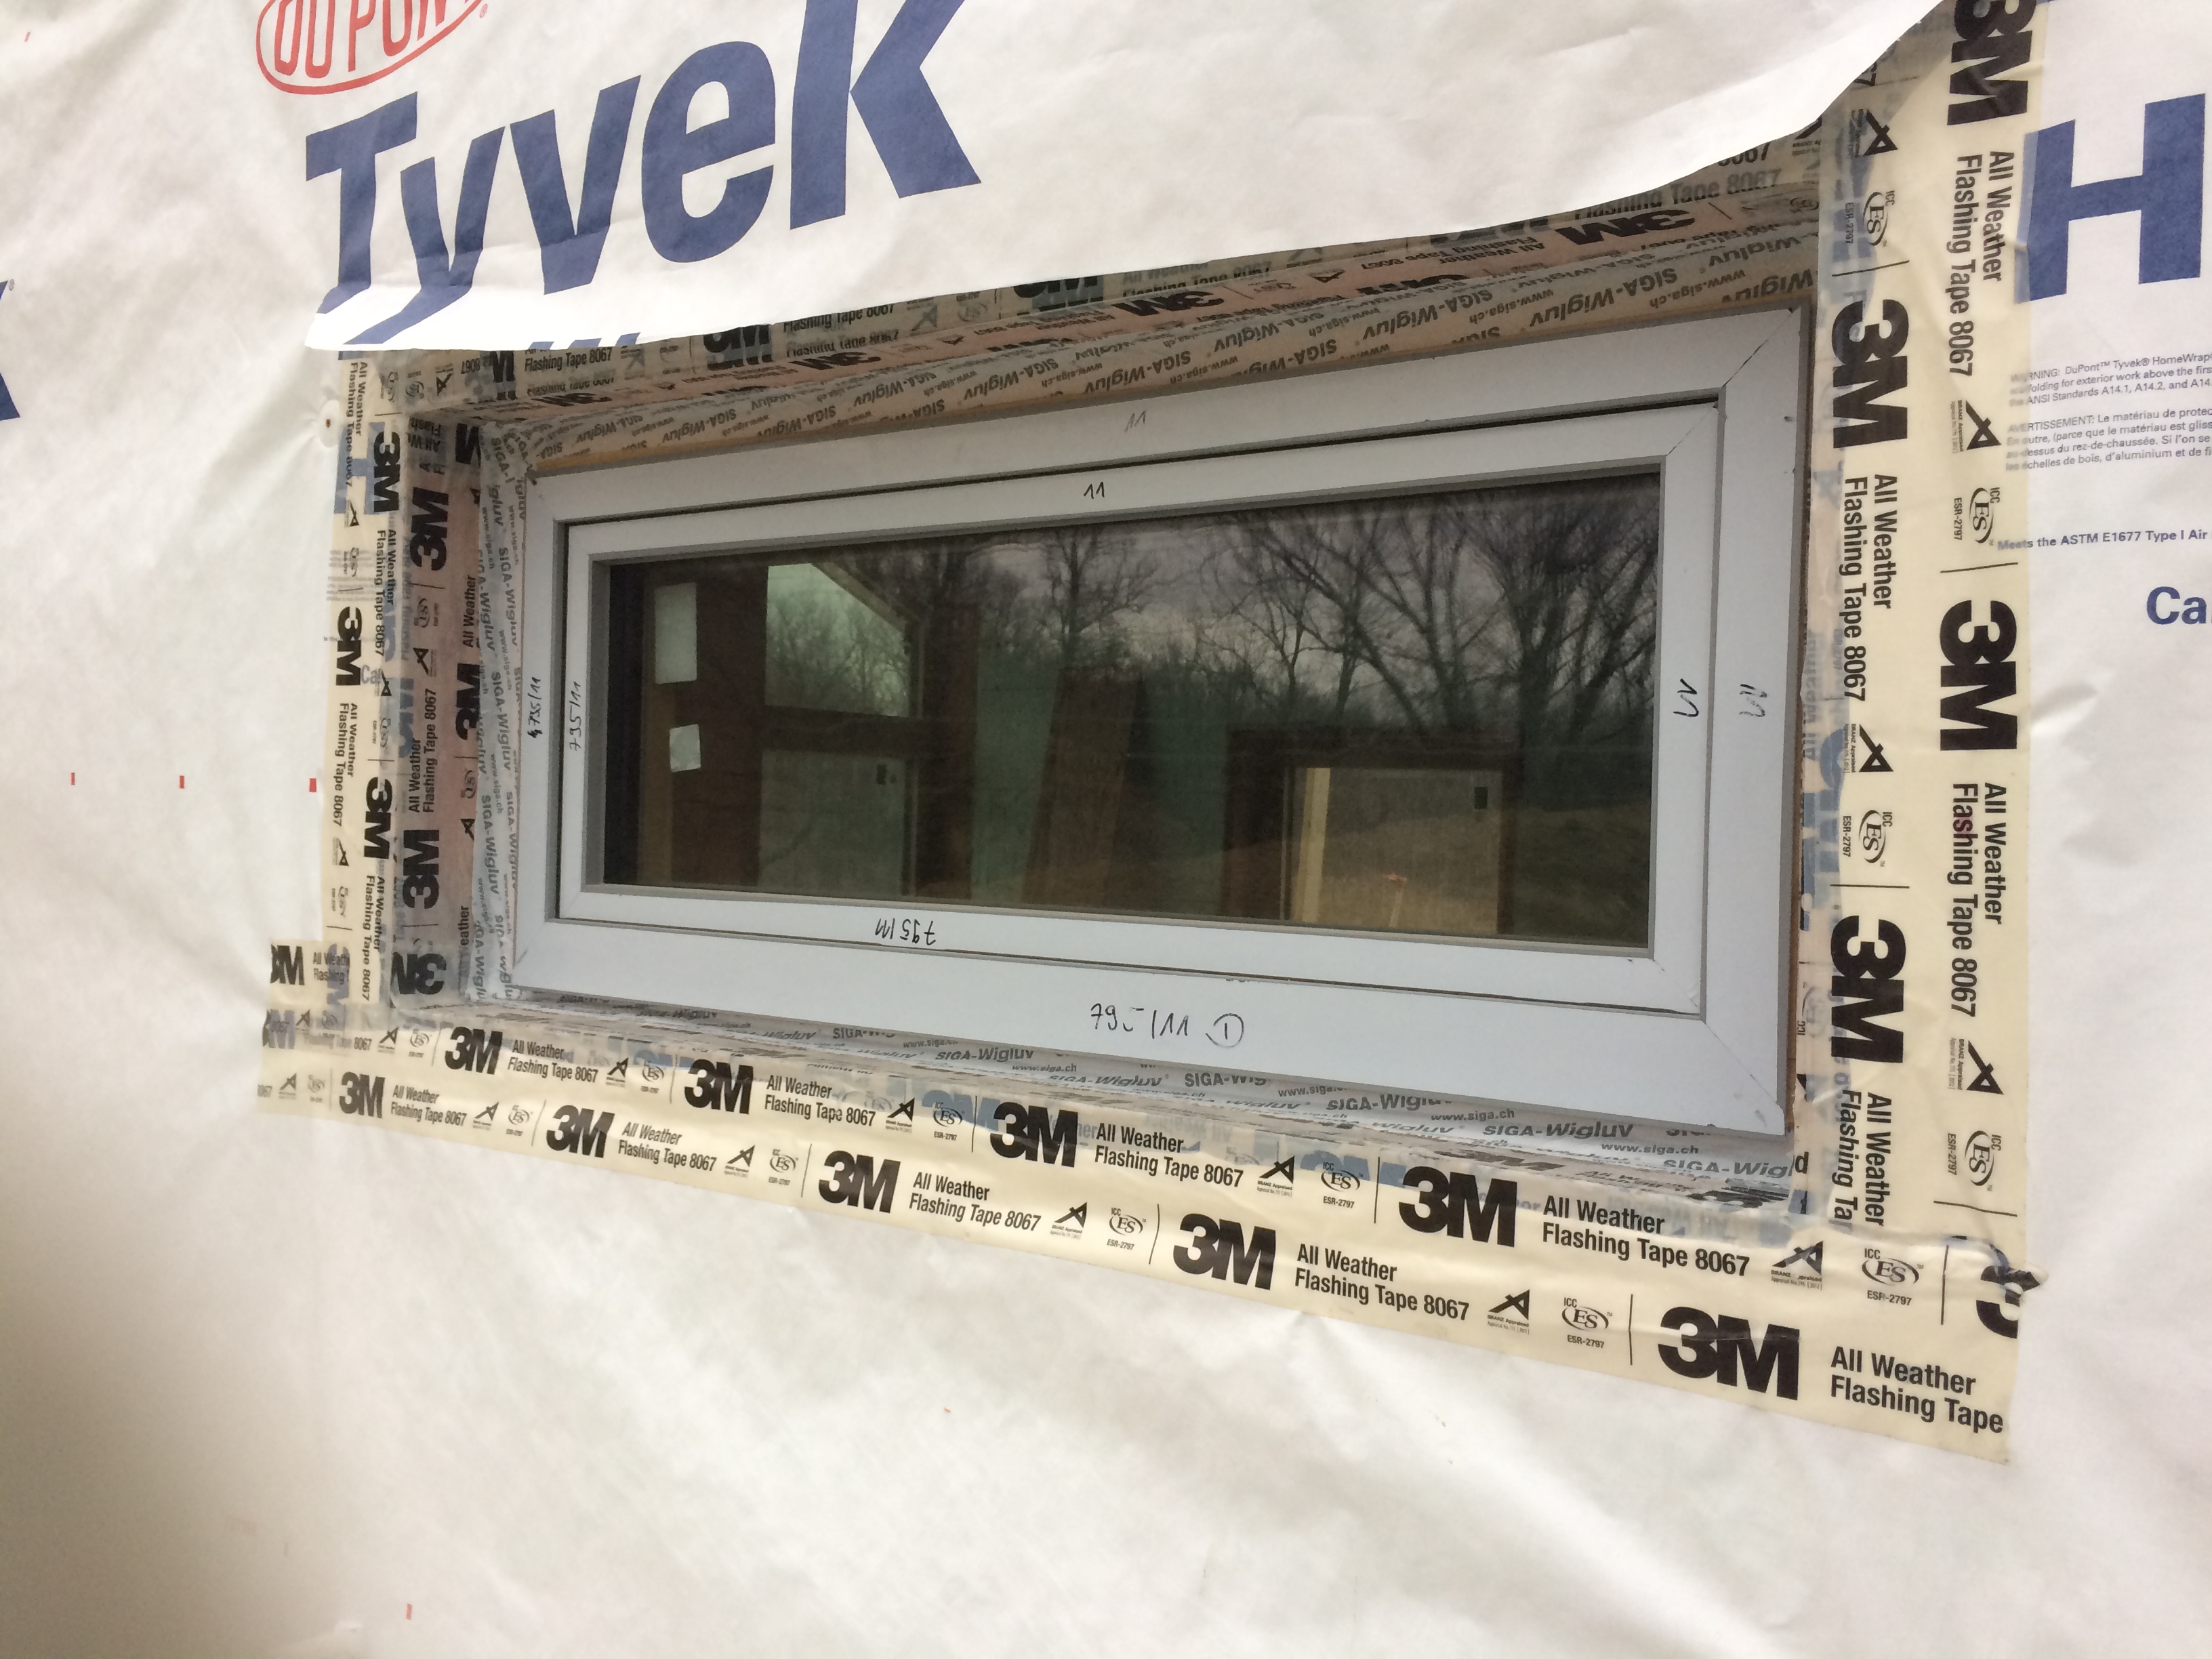
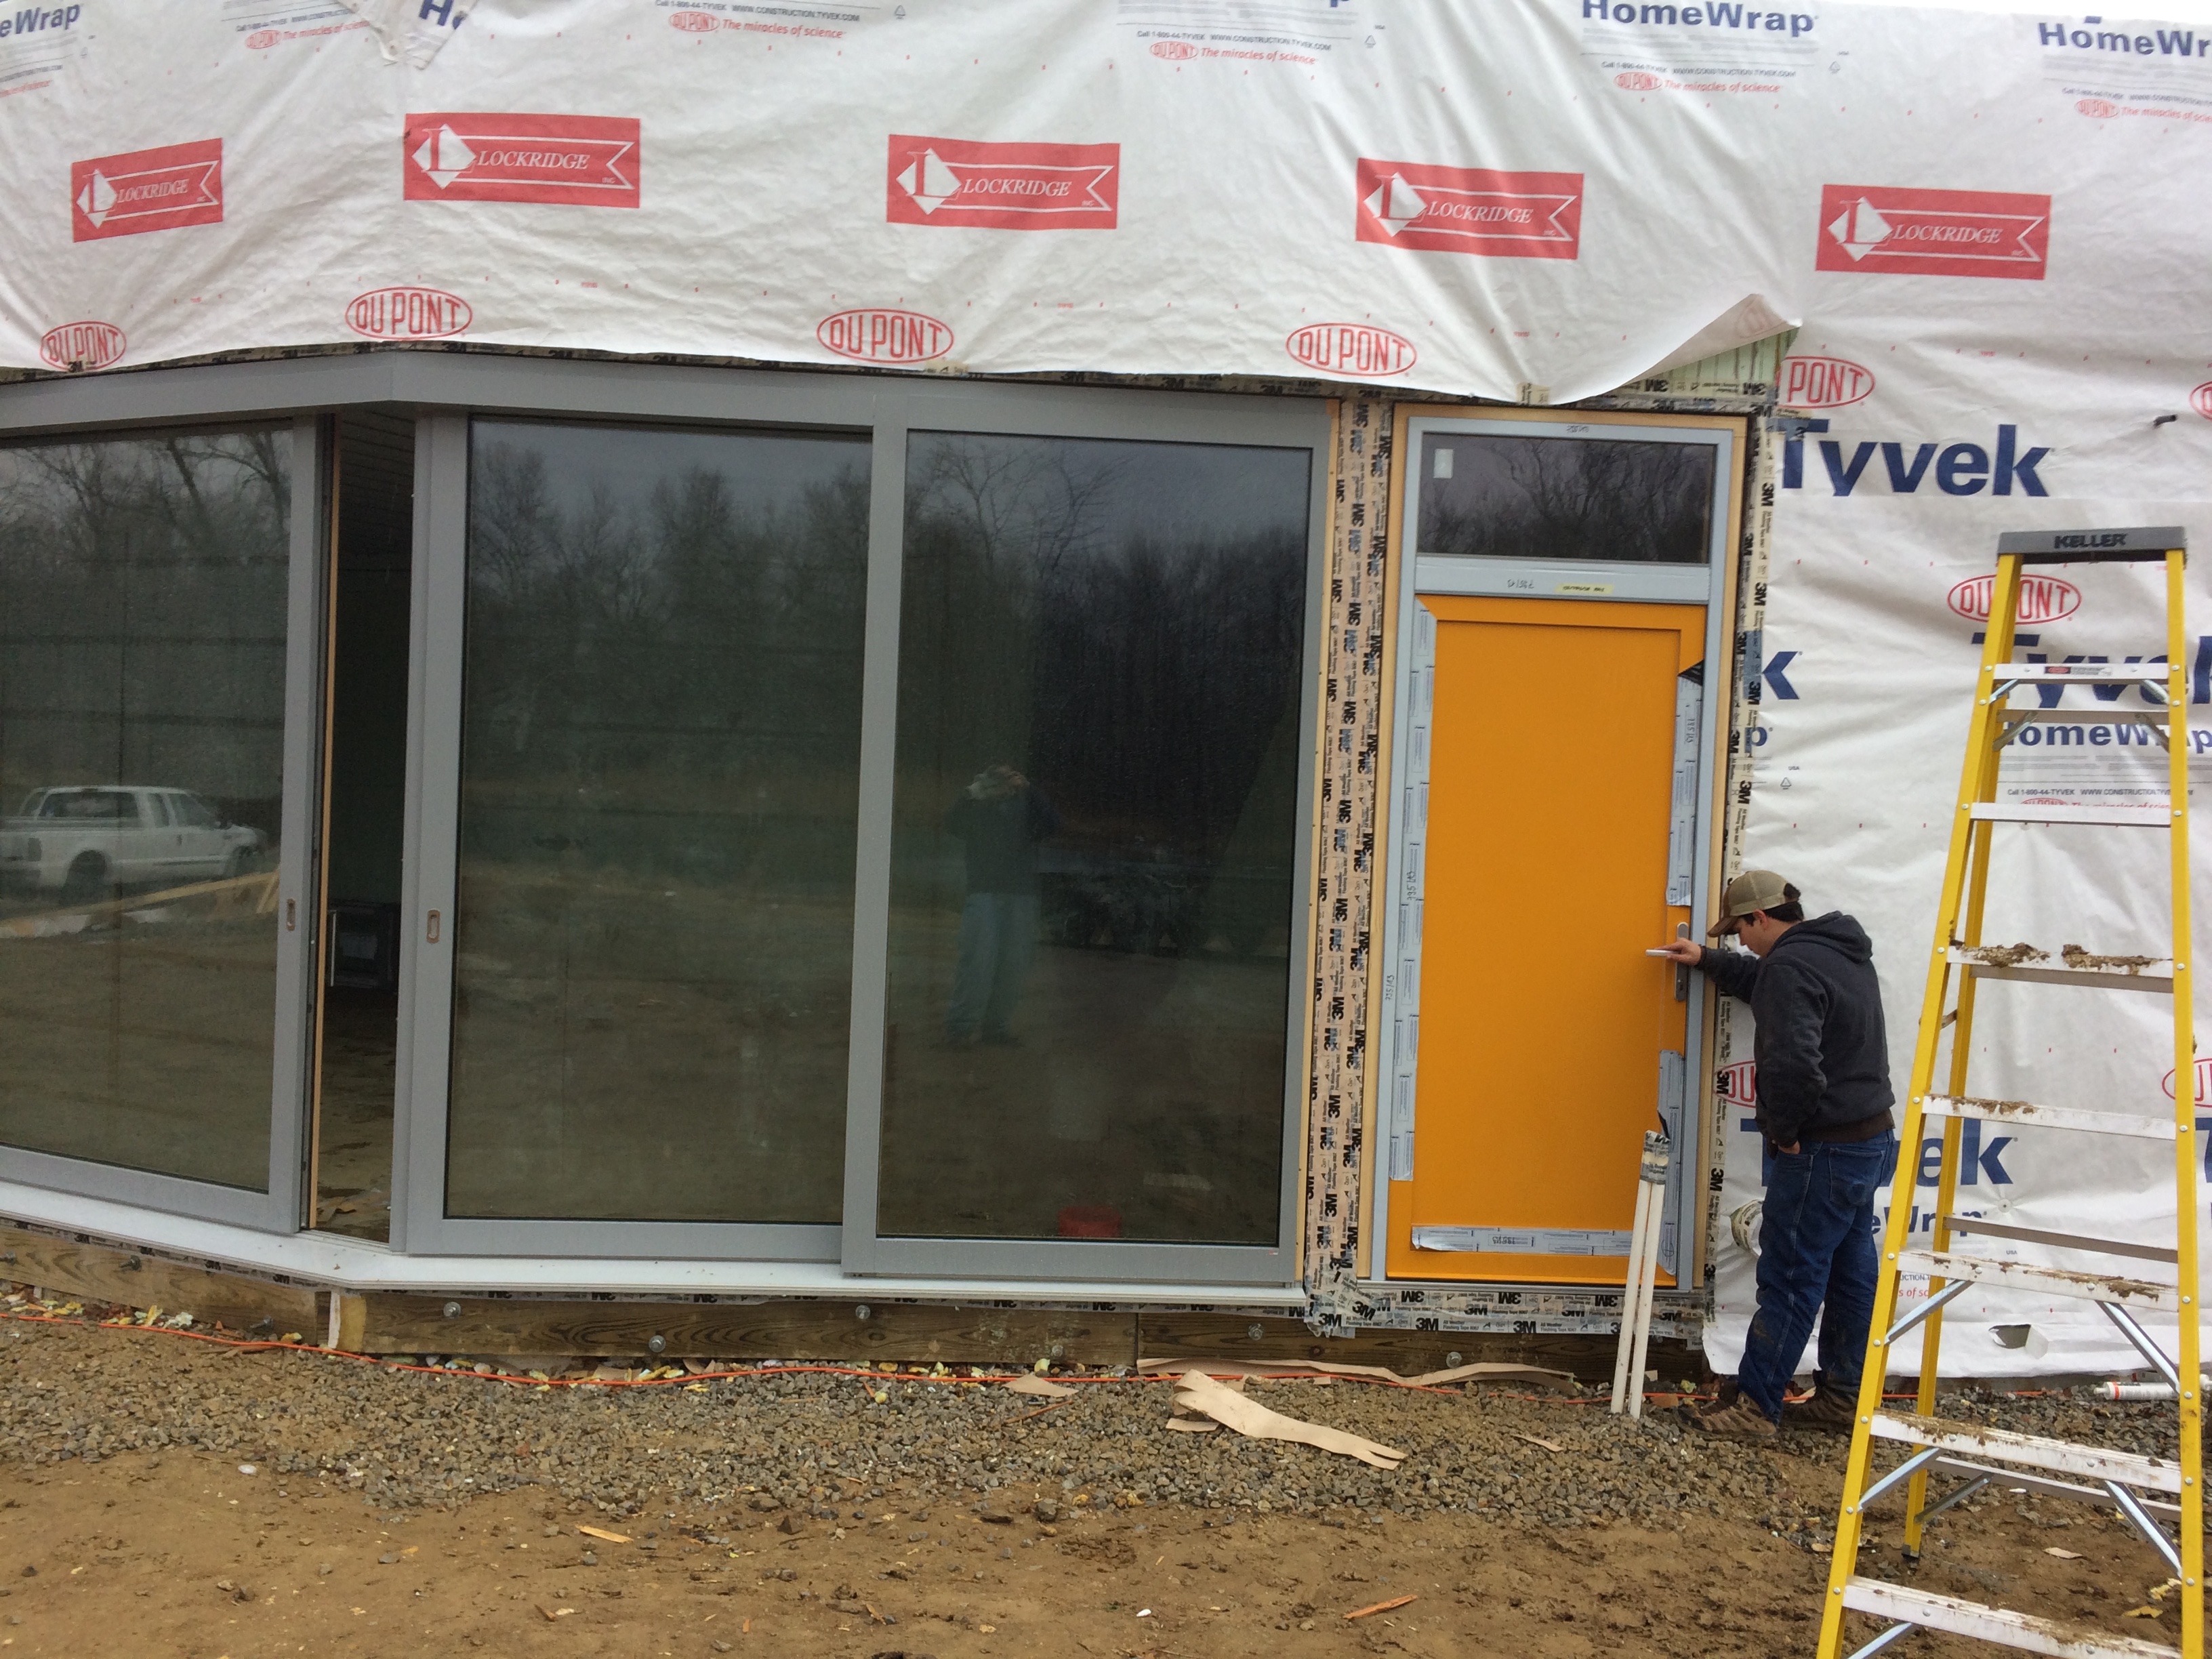
- The windows are massive. Each panel of the large lift-slide doors weighed 1000 lbs., and the second floor study window was 800 lbs.
- The windows are one of the most expensive line items for the entire house. The possibility of damaging them was a bit scary.
Further complicating the process were extremely cold temperatures, and one day of rain (just enough to cover everything with mud).
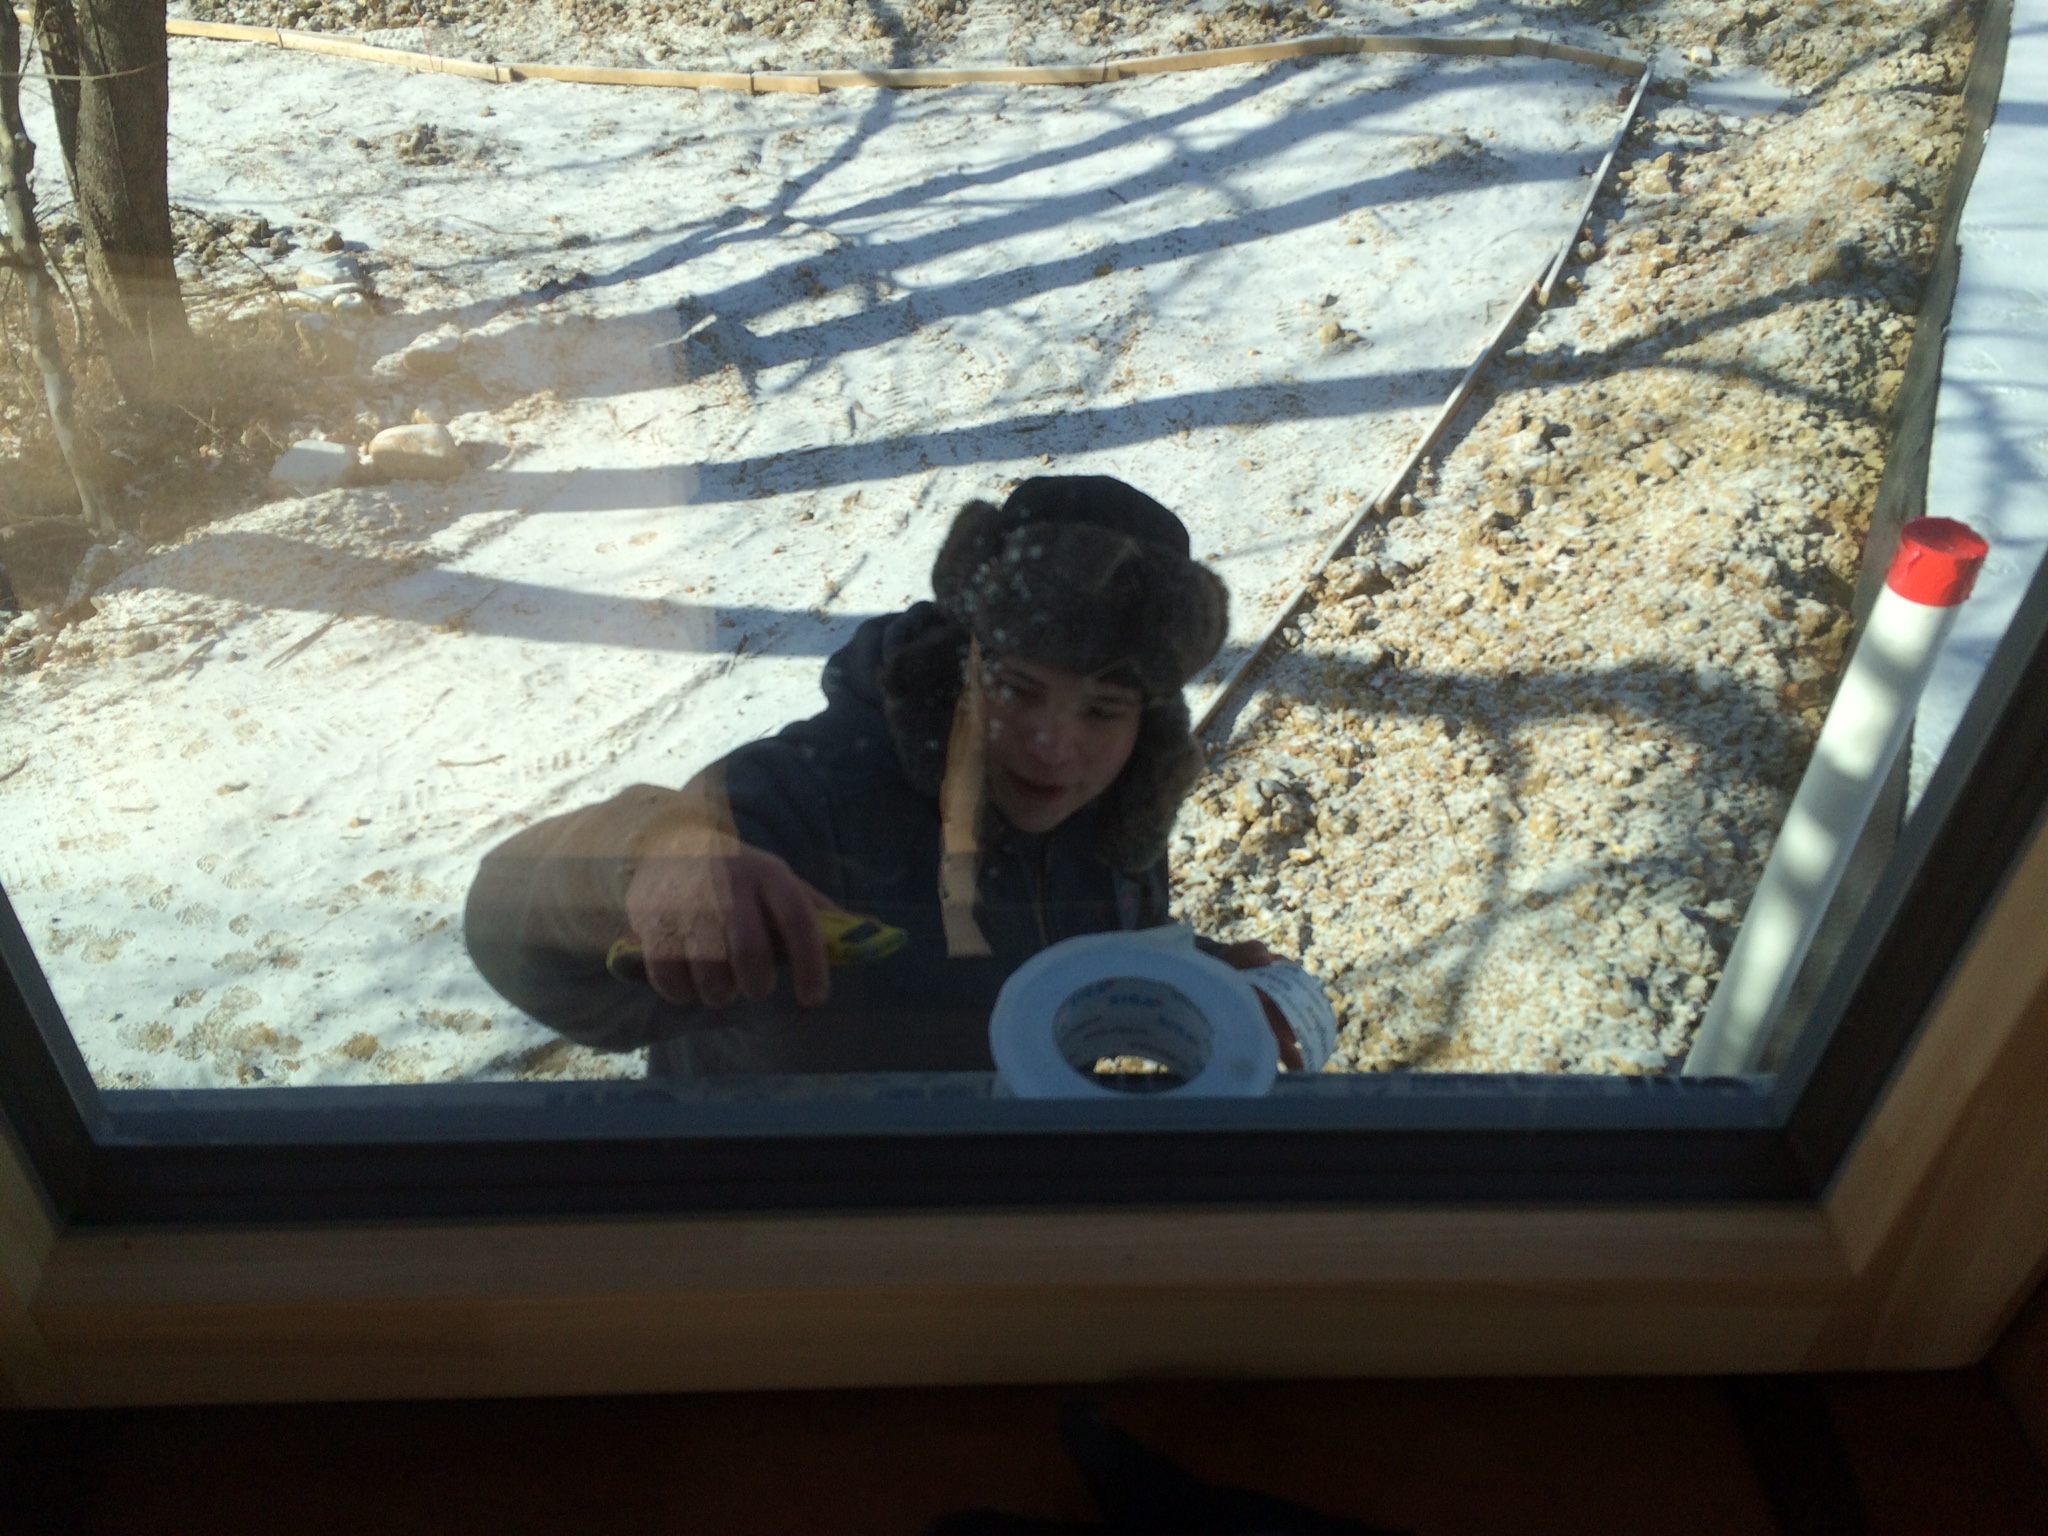
In charge of the installation was Harry Schilling of Schilling Construction. I was incredibly pleased with Harry’s work and would highly recommend him for other projects. He and his team were fast and efficient while also paying close attention to detail. Harry also taught the owner and his assistant how to perform the installation, so they could help out with many of the steps, thereby reducing the labor costs.
Here’s how the windows were installed — both in theory and in practice.
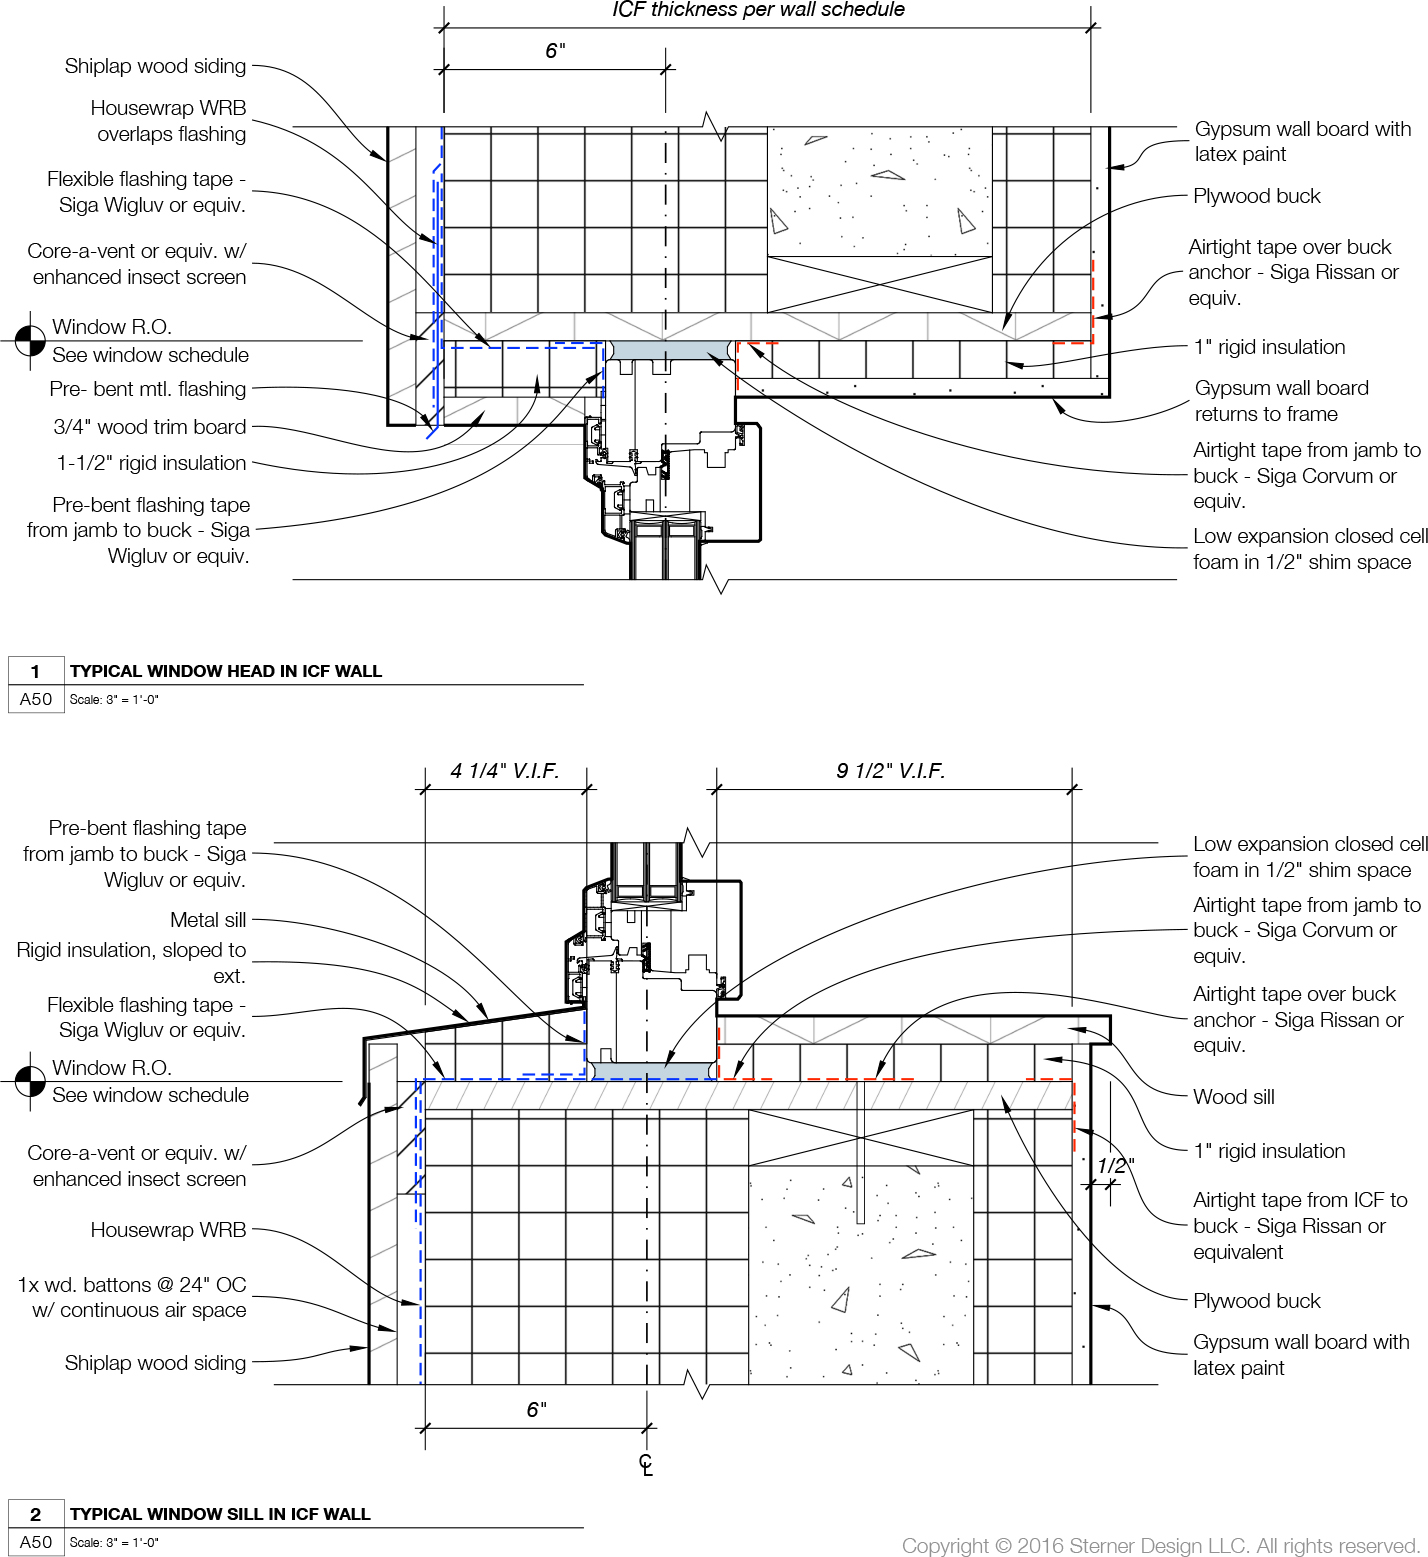
Typical window detail (theory)
The Zola team was extremely helpful in reviewing and commenting on my window details throughout the design process. The strategy that I landed on for the standard window detail in ICF walls was this:
- Water control on the exterior: using vapor-permeable Siga flashing tapes, properly lapped with the housewrap (which serves as the exterior water resistive barrier).
- Air control on the interior: again using vapor-permeable Siga tapes to connect the window jamb to the plywood buck, and the buck to the ICF (whose concrete core is the air barrier for the walls).
- Insulation between: Low-expansion closed cell foam to fill the 1/2” gap between the window and the buck. (Foam shrinks over time and is not an effective air barrier; hence the tape.)
- Over-insulation: The window frame is the weakest part of the assembly; by covering most of it with 1-2” of rigid insulation significantly improves overall thermal performance of the window.
- Window in center of R-value: The most effective location for the window is in the center of the wall’s R-value (which doesn’t align with the center of the wall, thanks to the off-center concrete core).
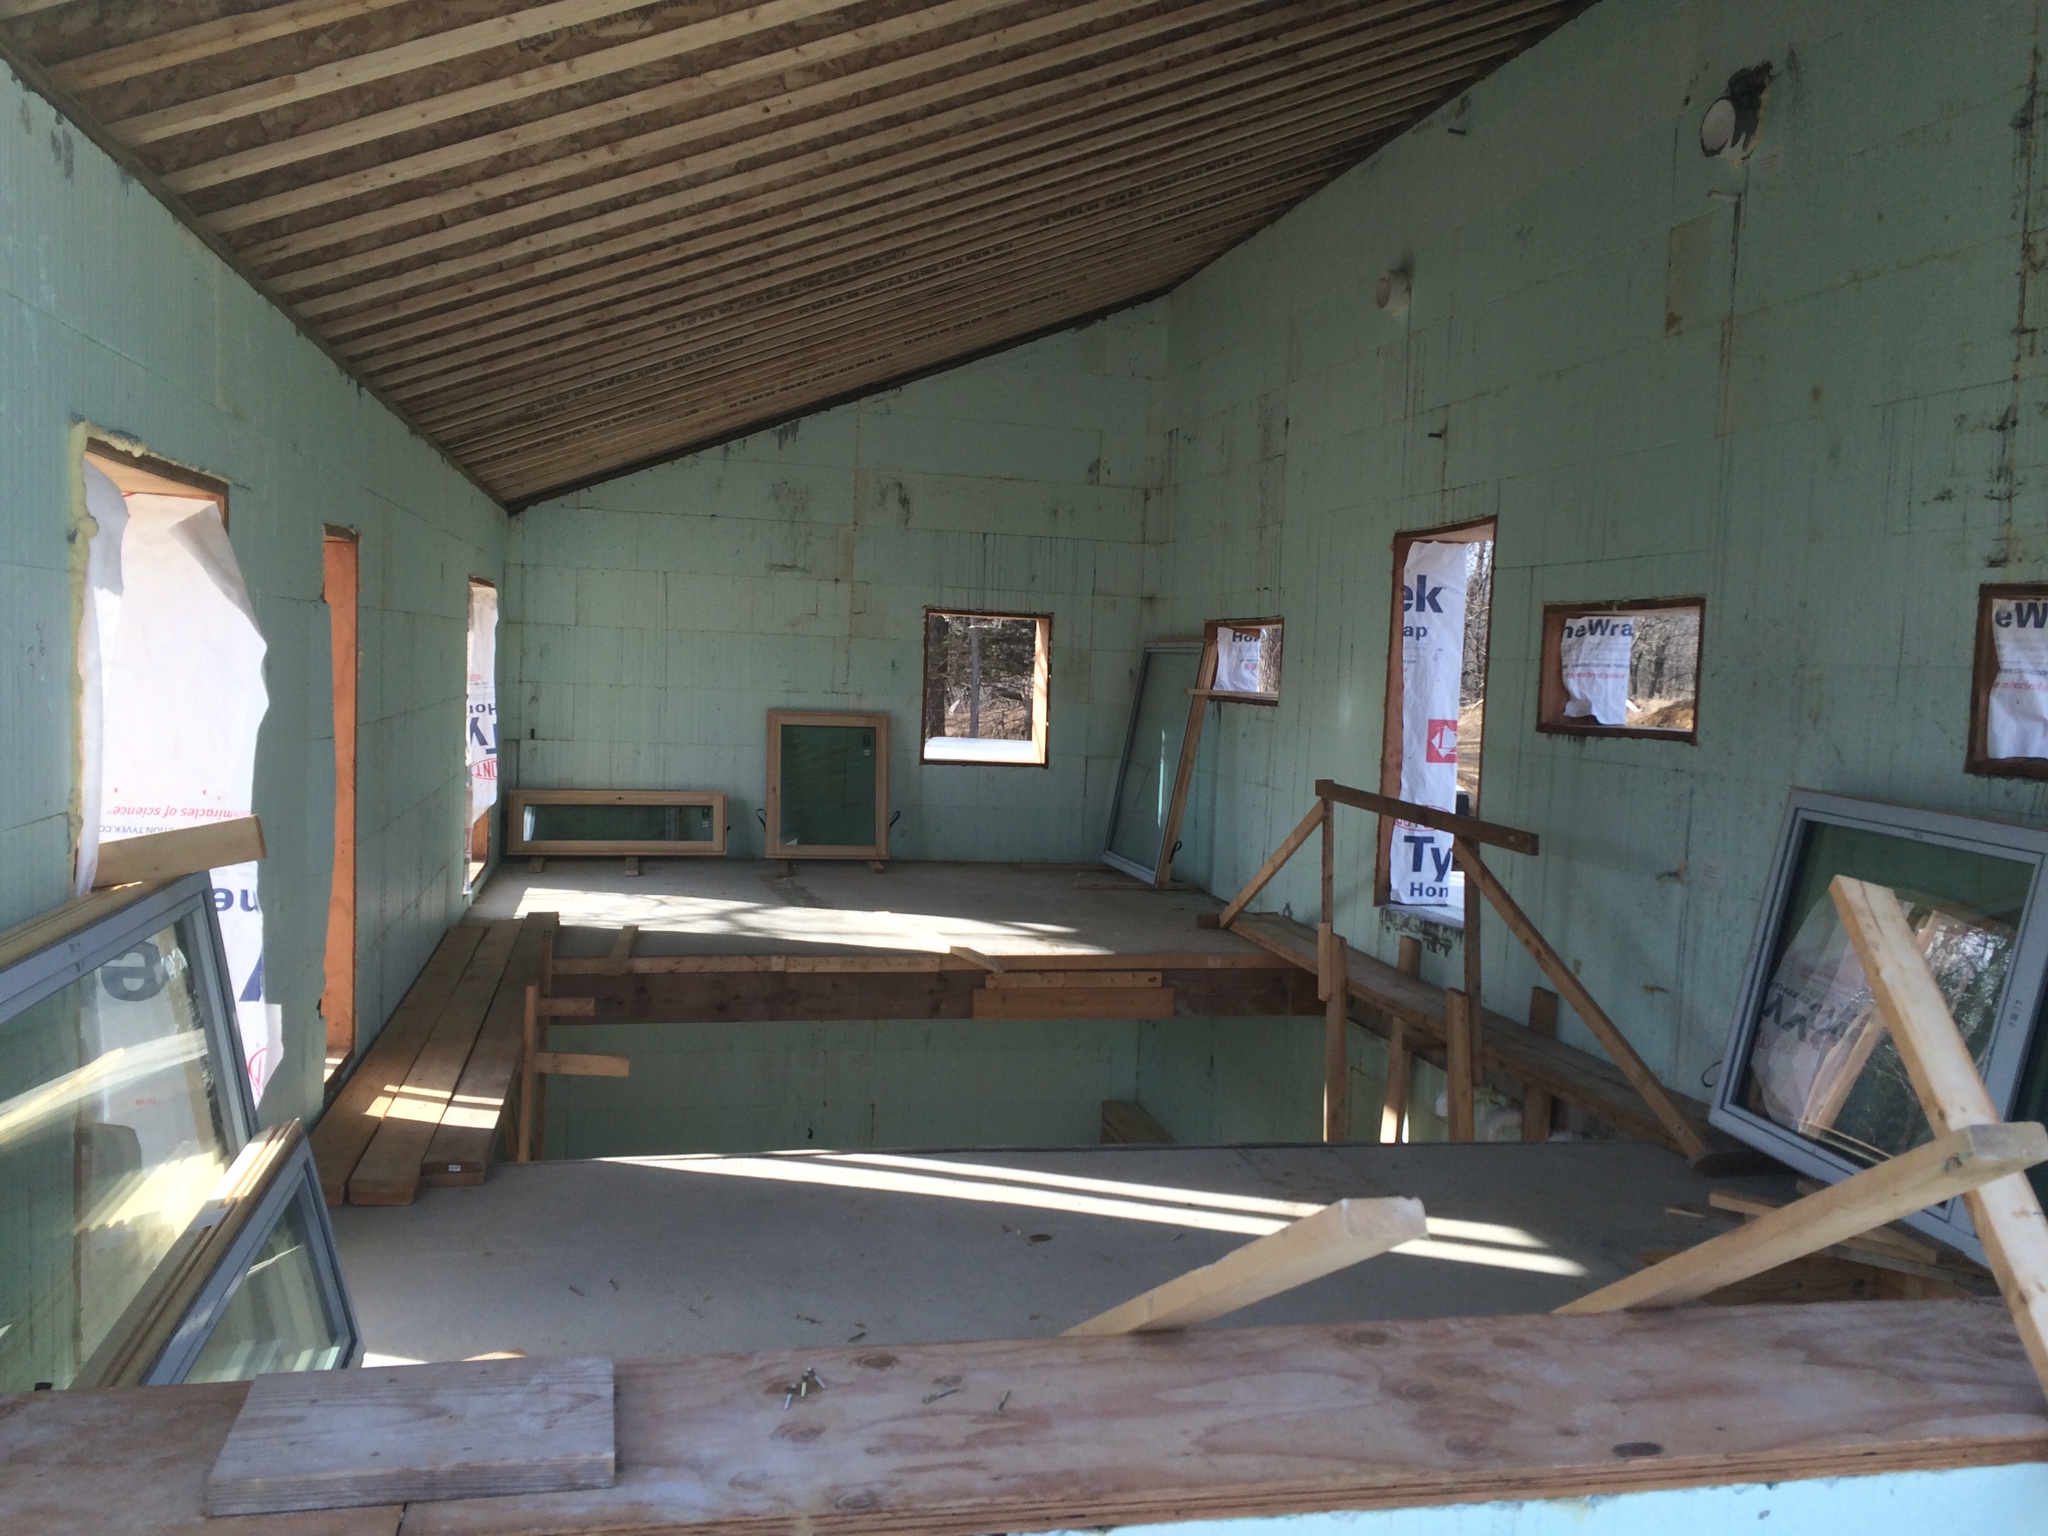
Window installation (practice)
Here’s what the process looked like in the field:
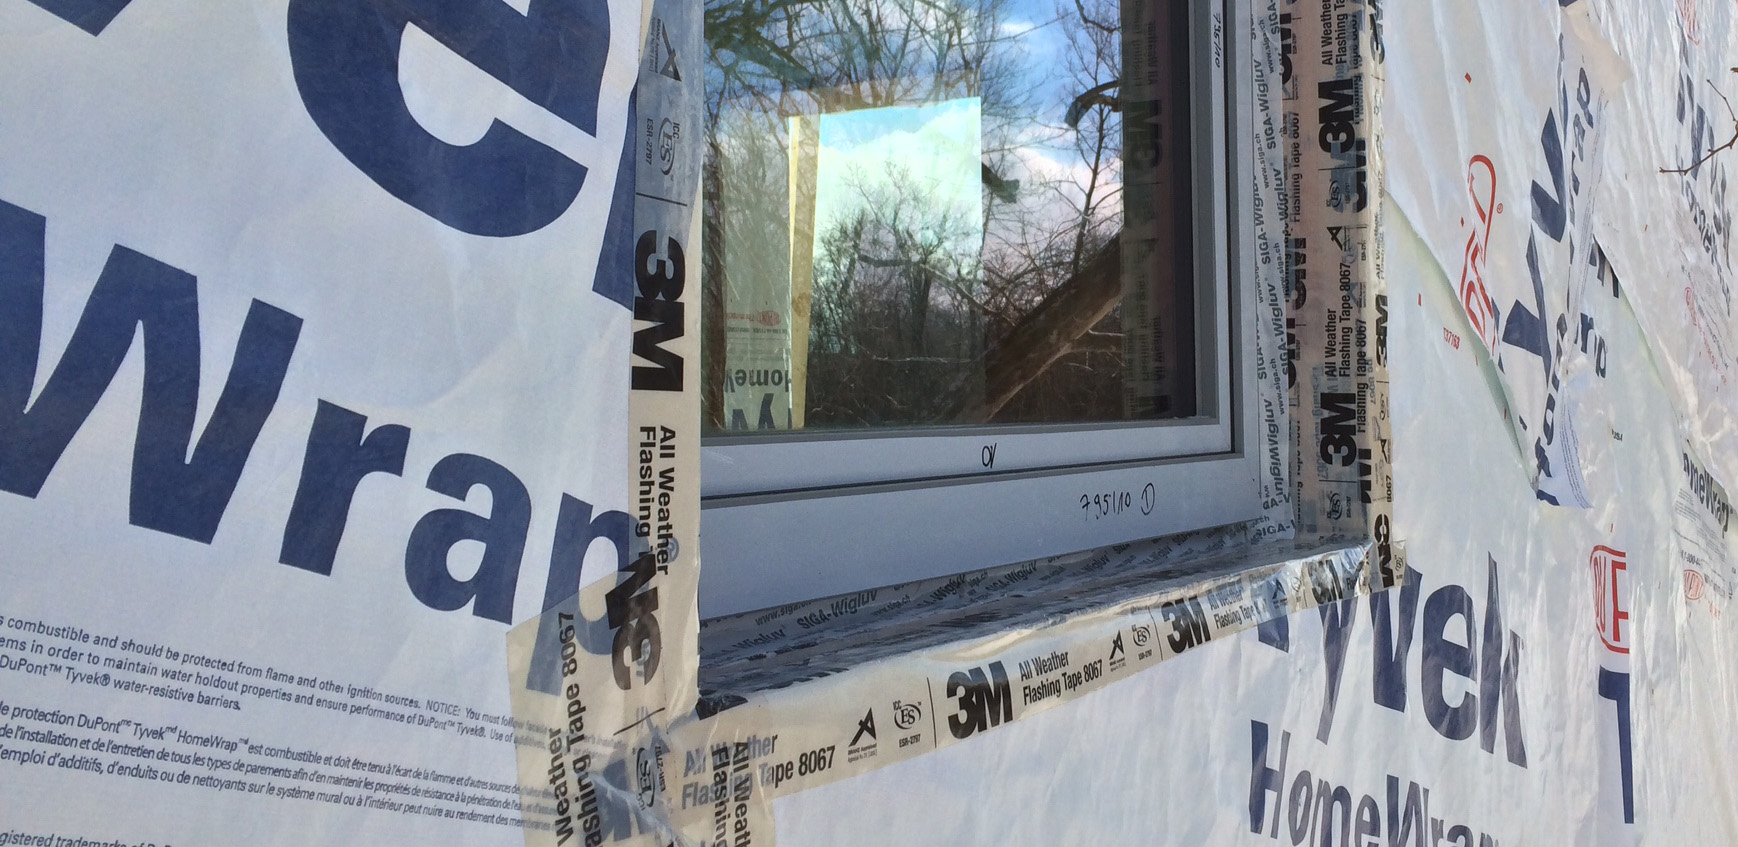
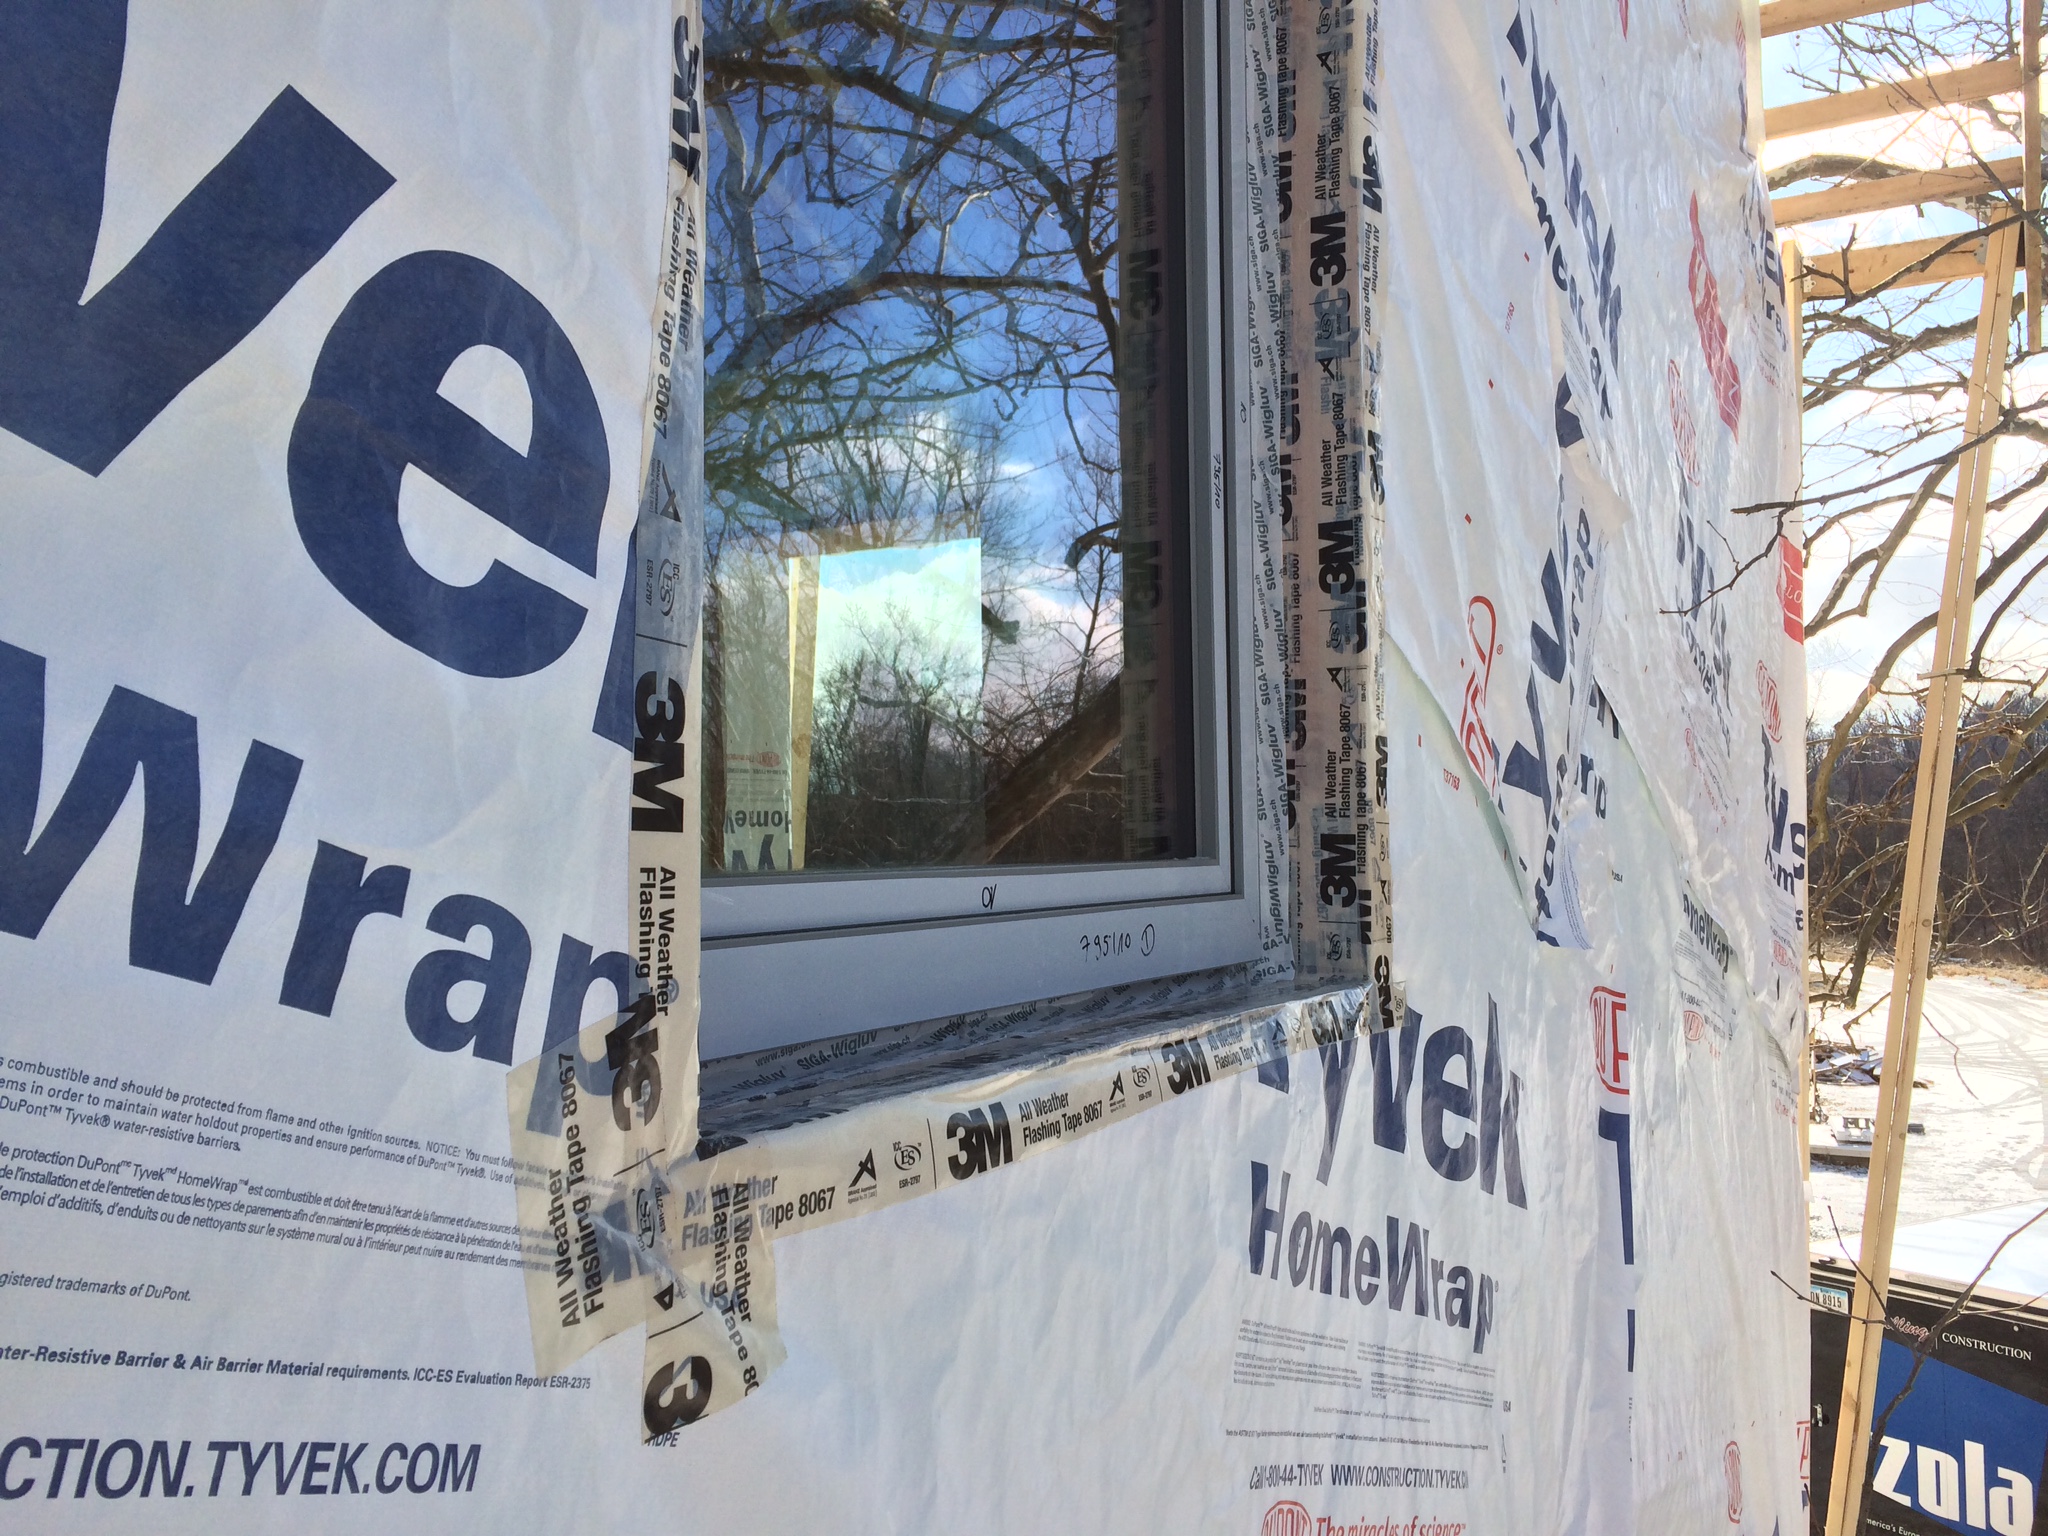
- Flash the rough opening using 3M flashing tape (recommended by Harry because it sticks to anything — and it did, even in 0 degree F temperatures and rainy weather)
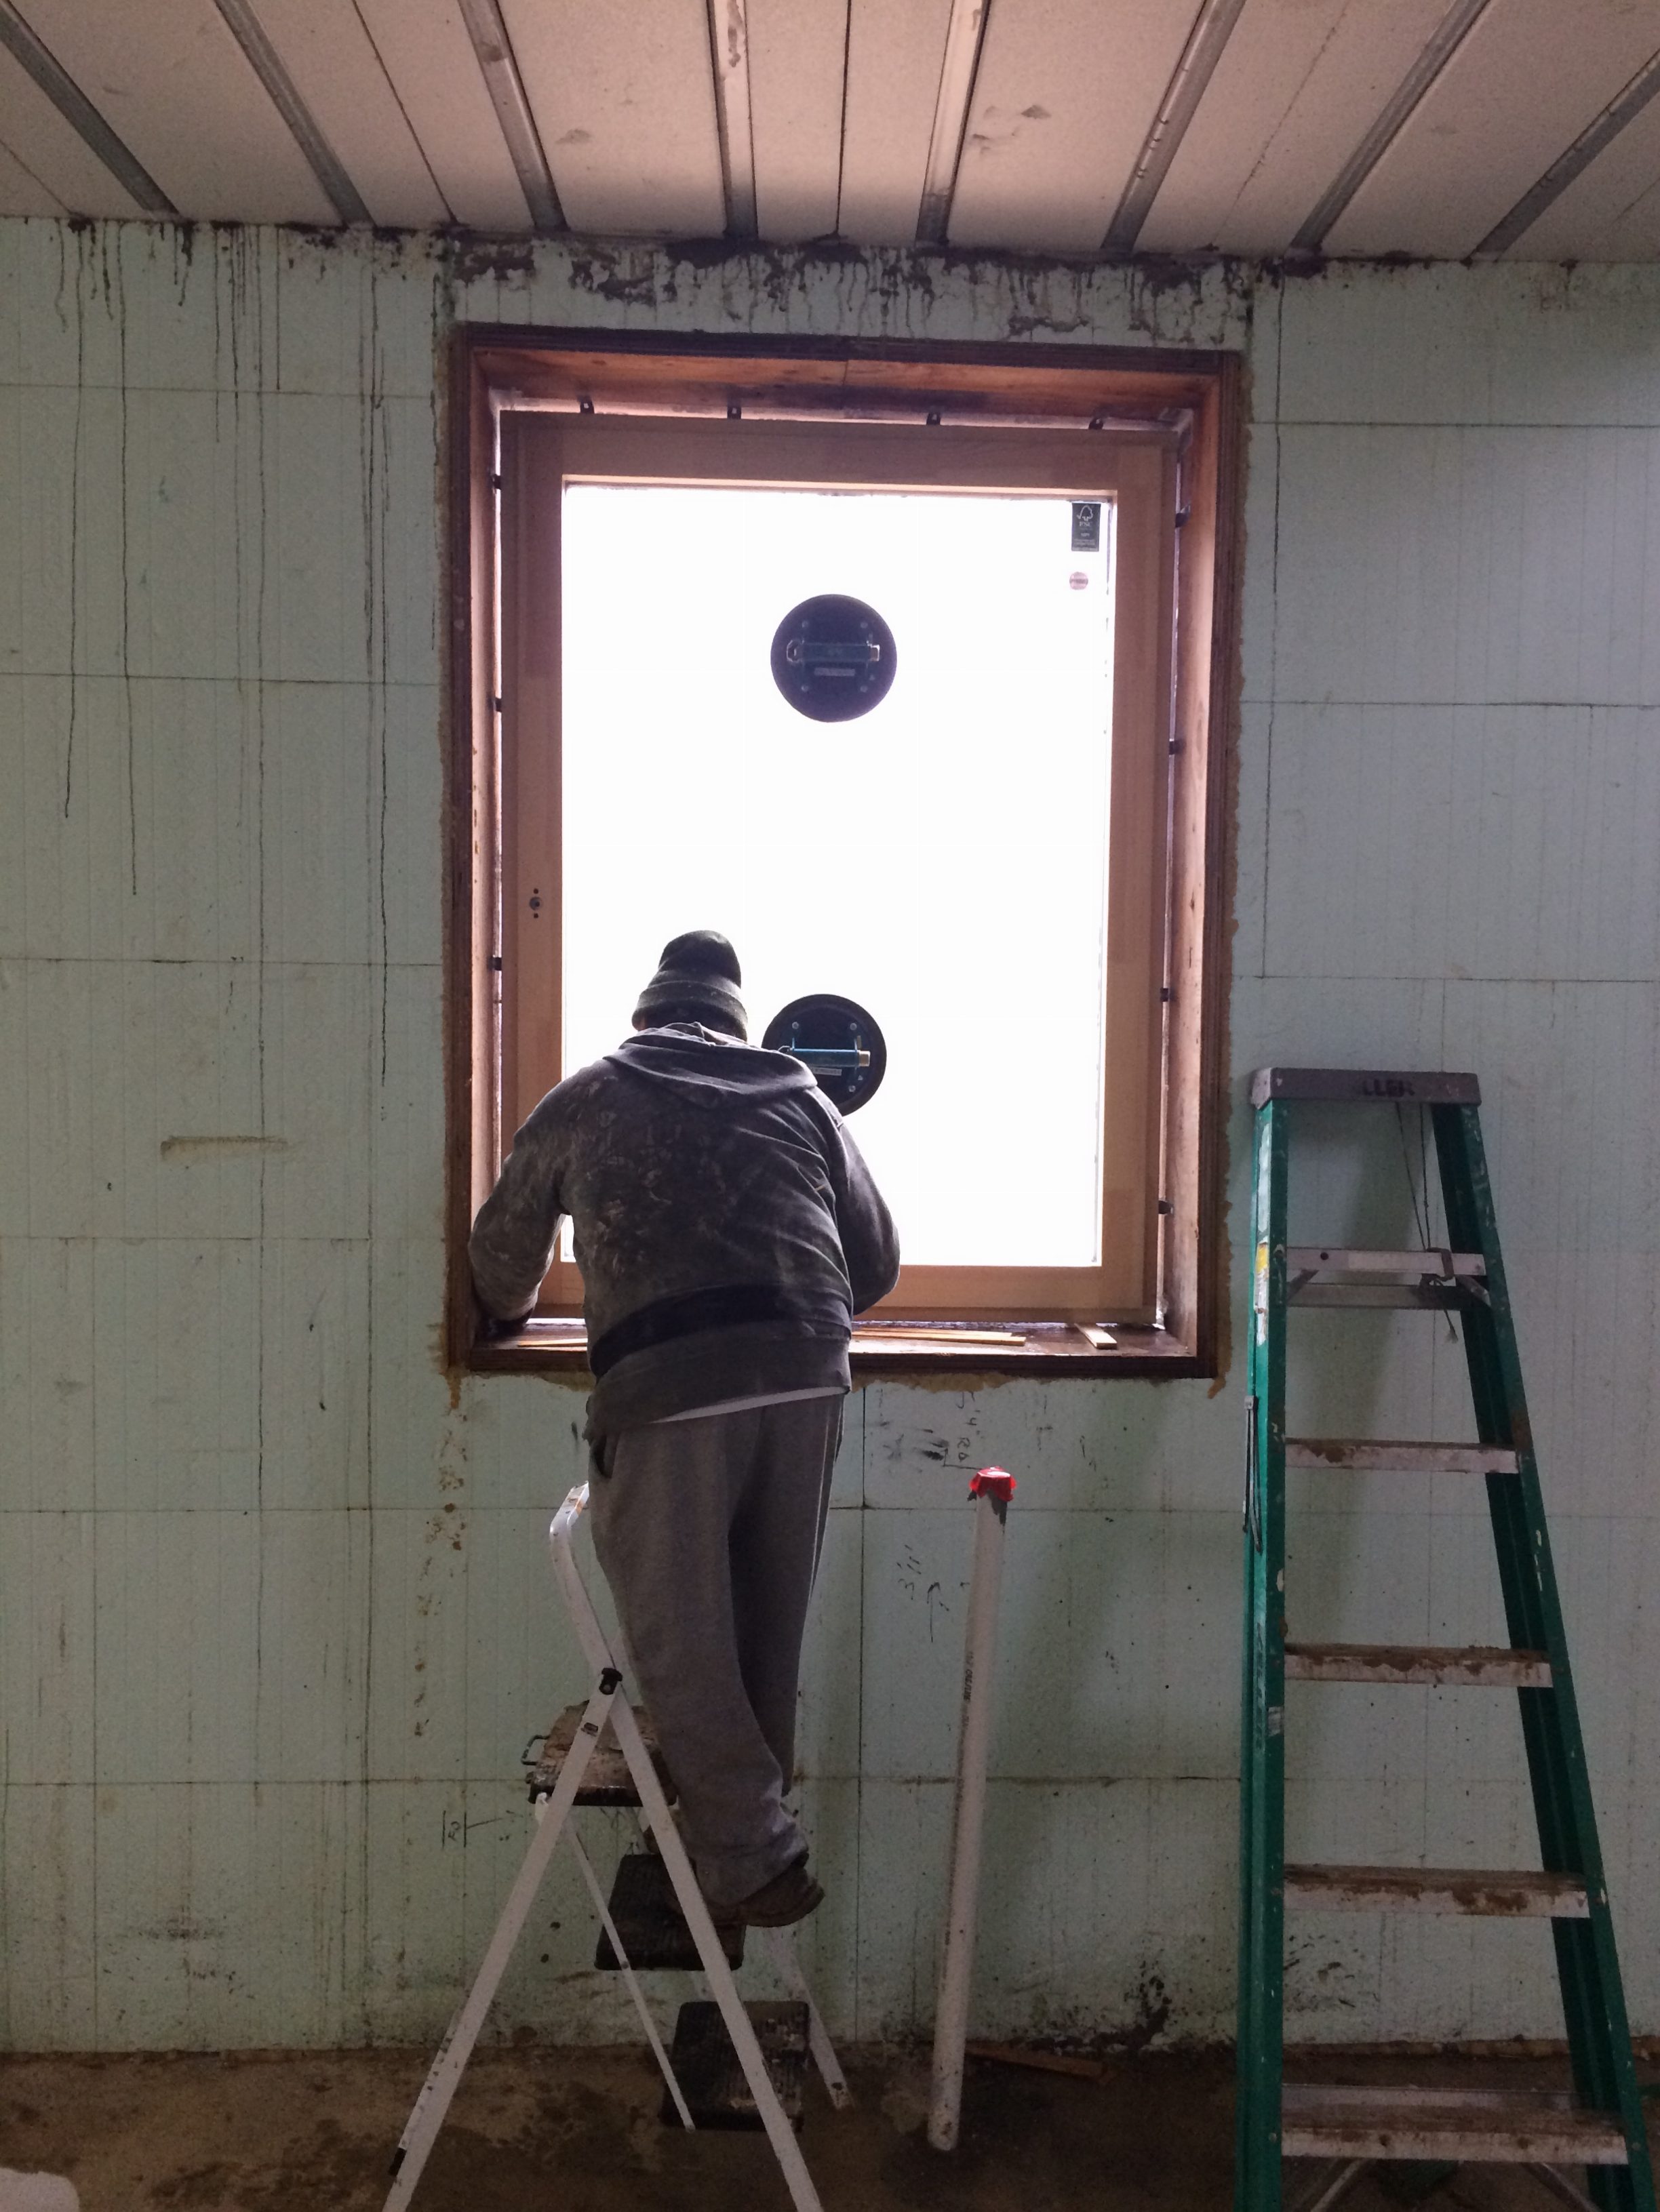
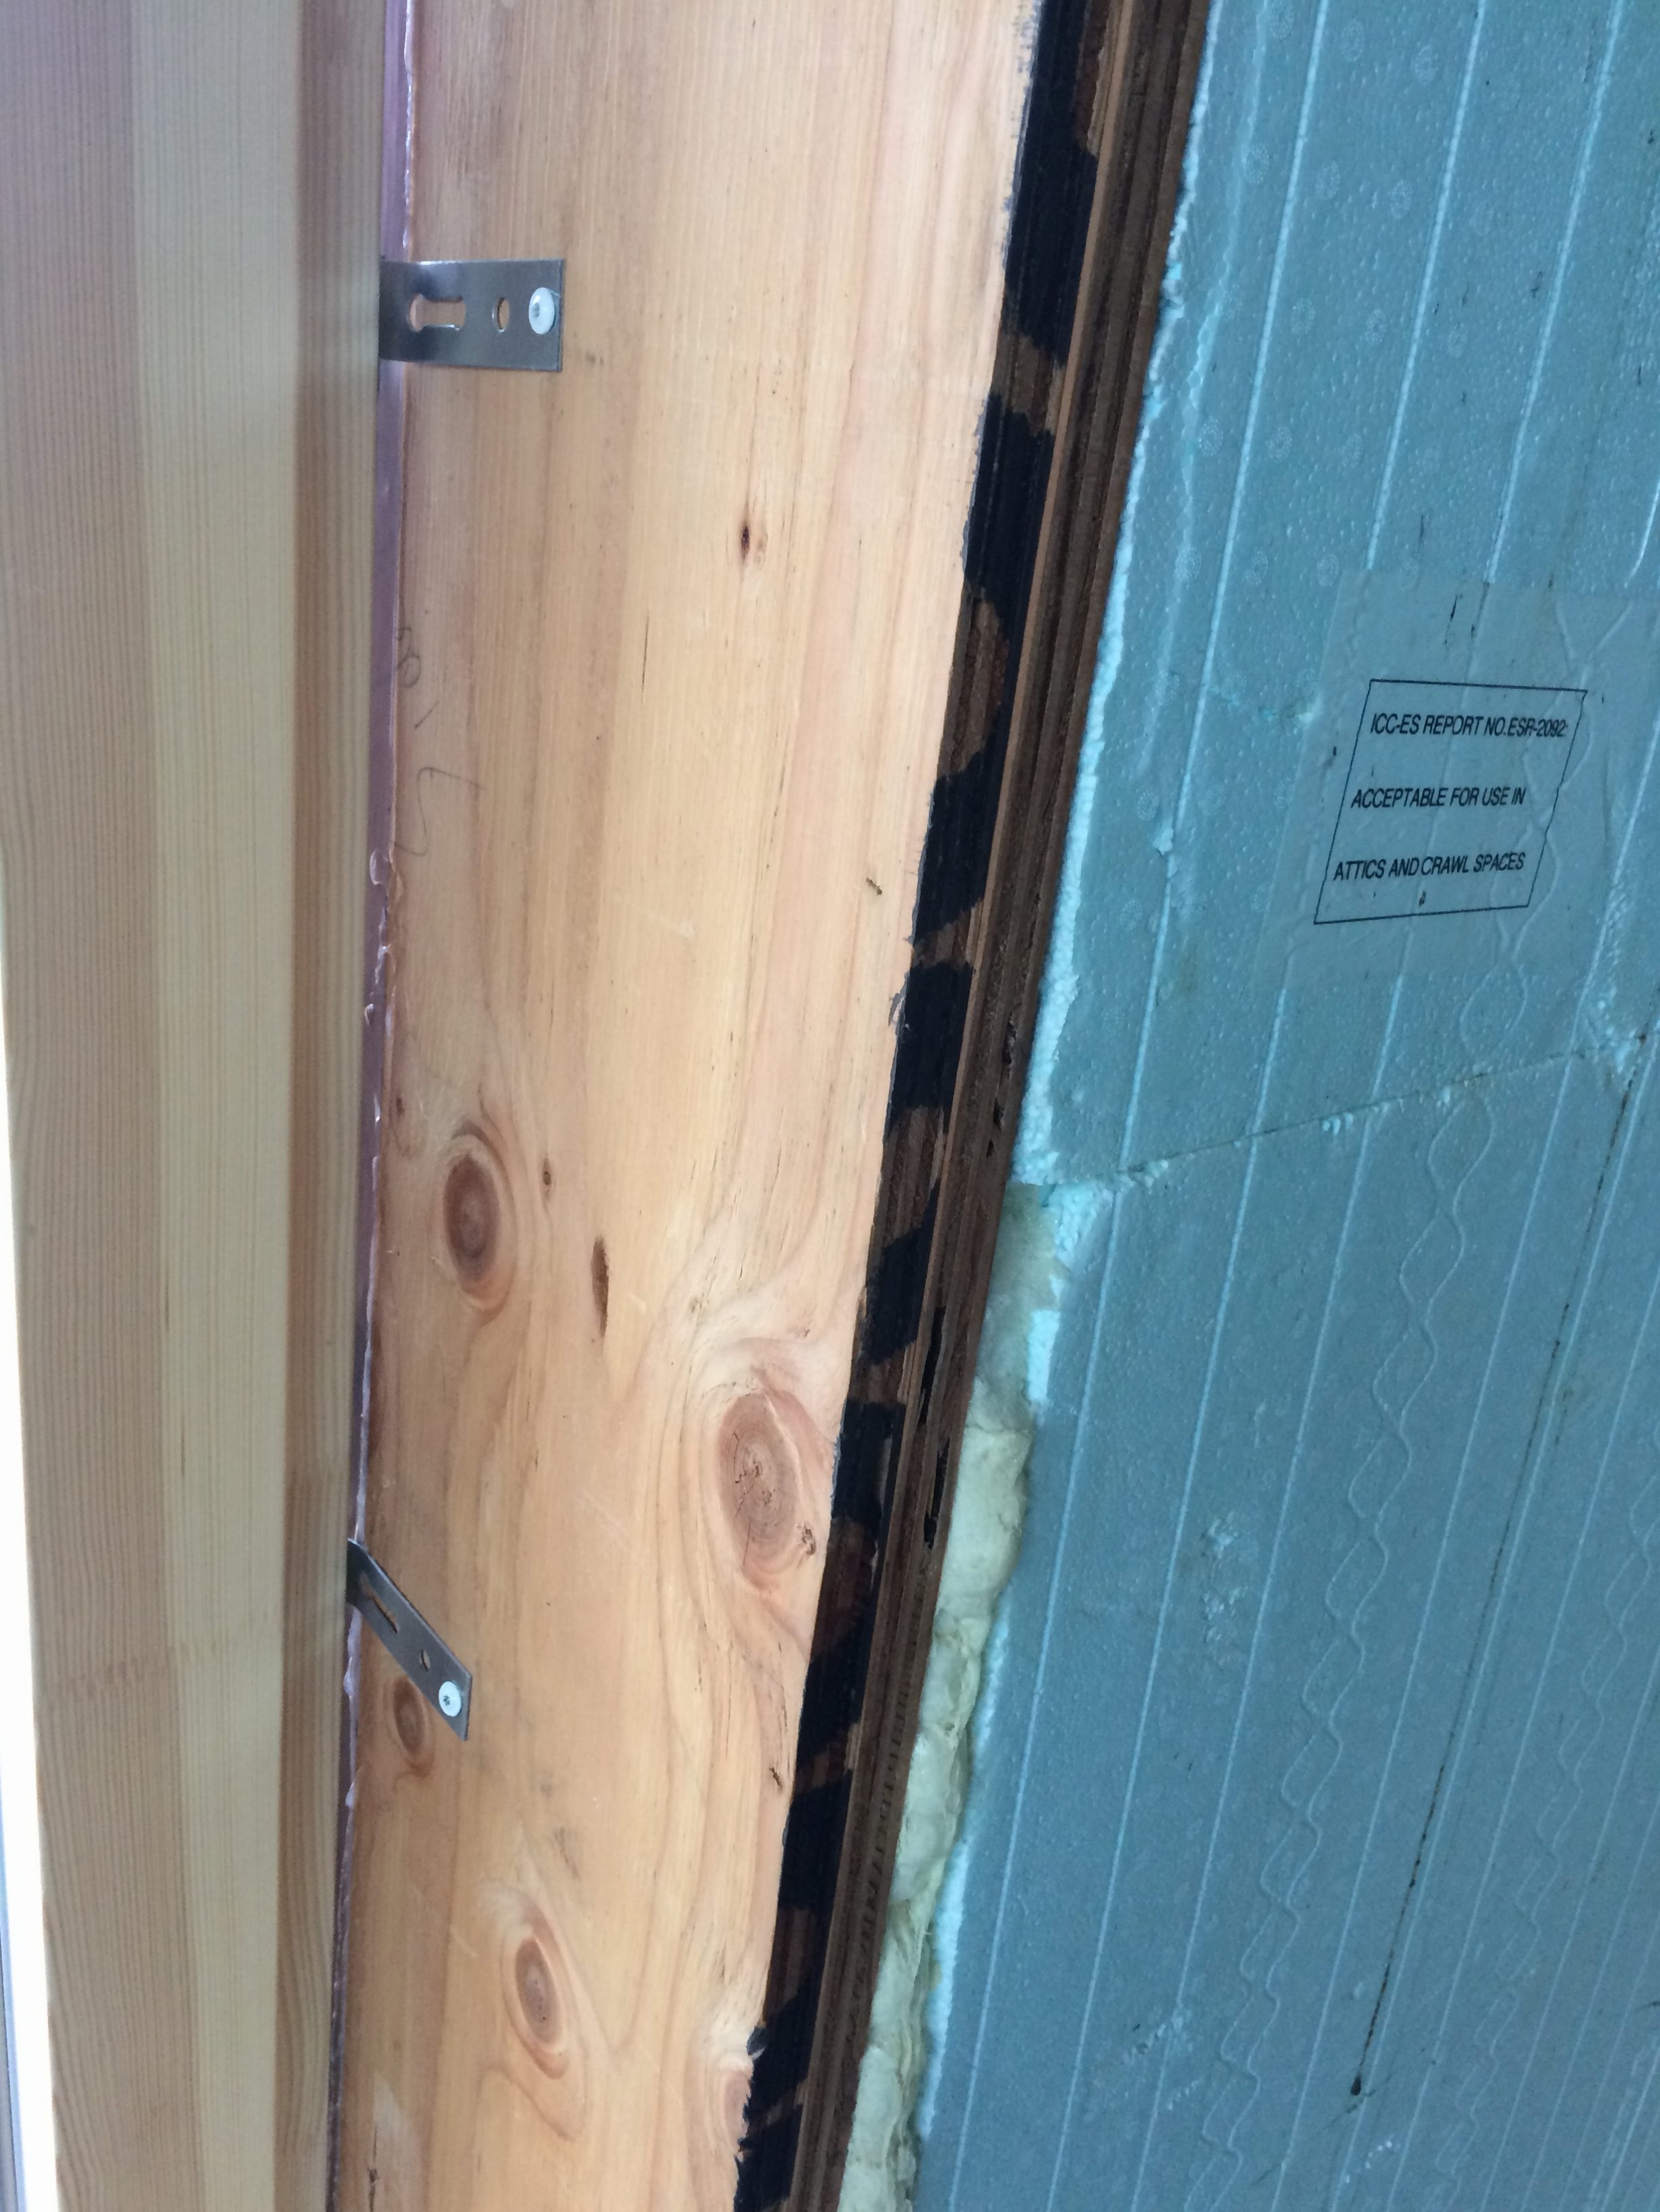
- Prep the window with clips
- Lift windows in place using suction cups, shim to make level and plumb. Then screw the clips into the window bucks.
- Add exterior flashing tape between window and 3M tape (Siga Wigluv)
- Fill the ~1/2” gap with closed cell spray foam. (Conditions must be right for this step, so this and the following steps were left for another day.)
- Add the interior air barrier tape (Siga Corvum), sealing the window jamb to buck, then buck to ICF walls, and also covering penetrations through buck (at clips). This will provide a continuous air barrier.
- Over-insulate on both interior and exterior with rigid insulation, adhered with glue to the buck.
- Add trim over the insulation.
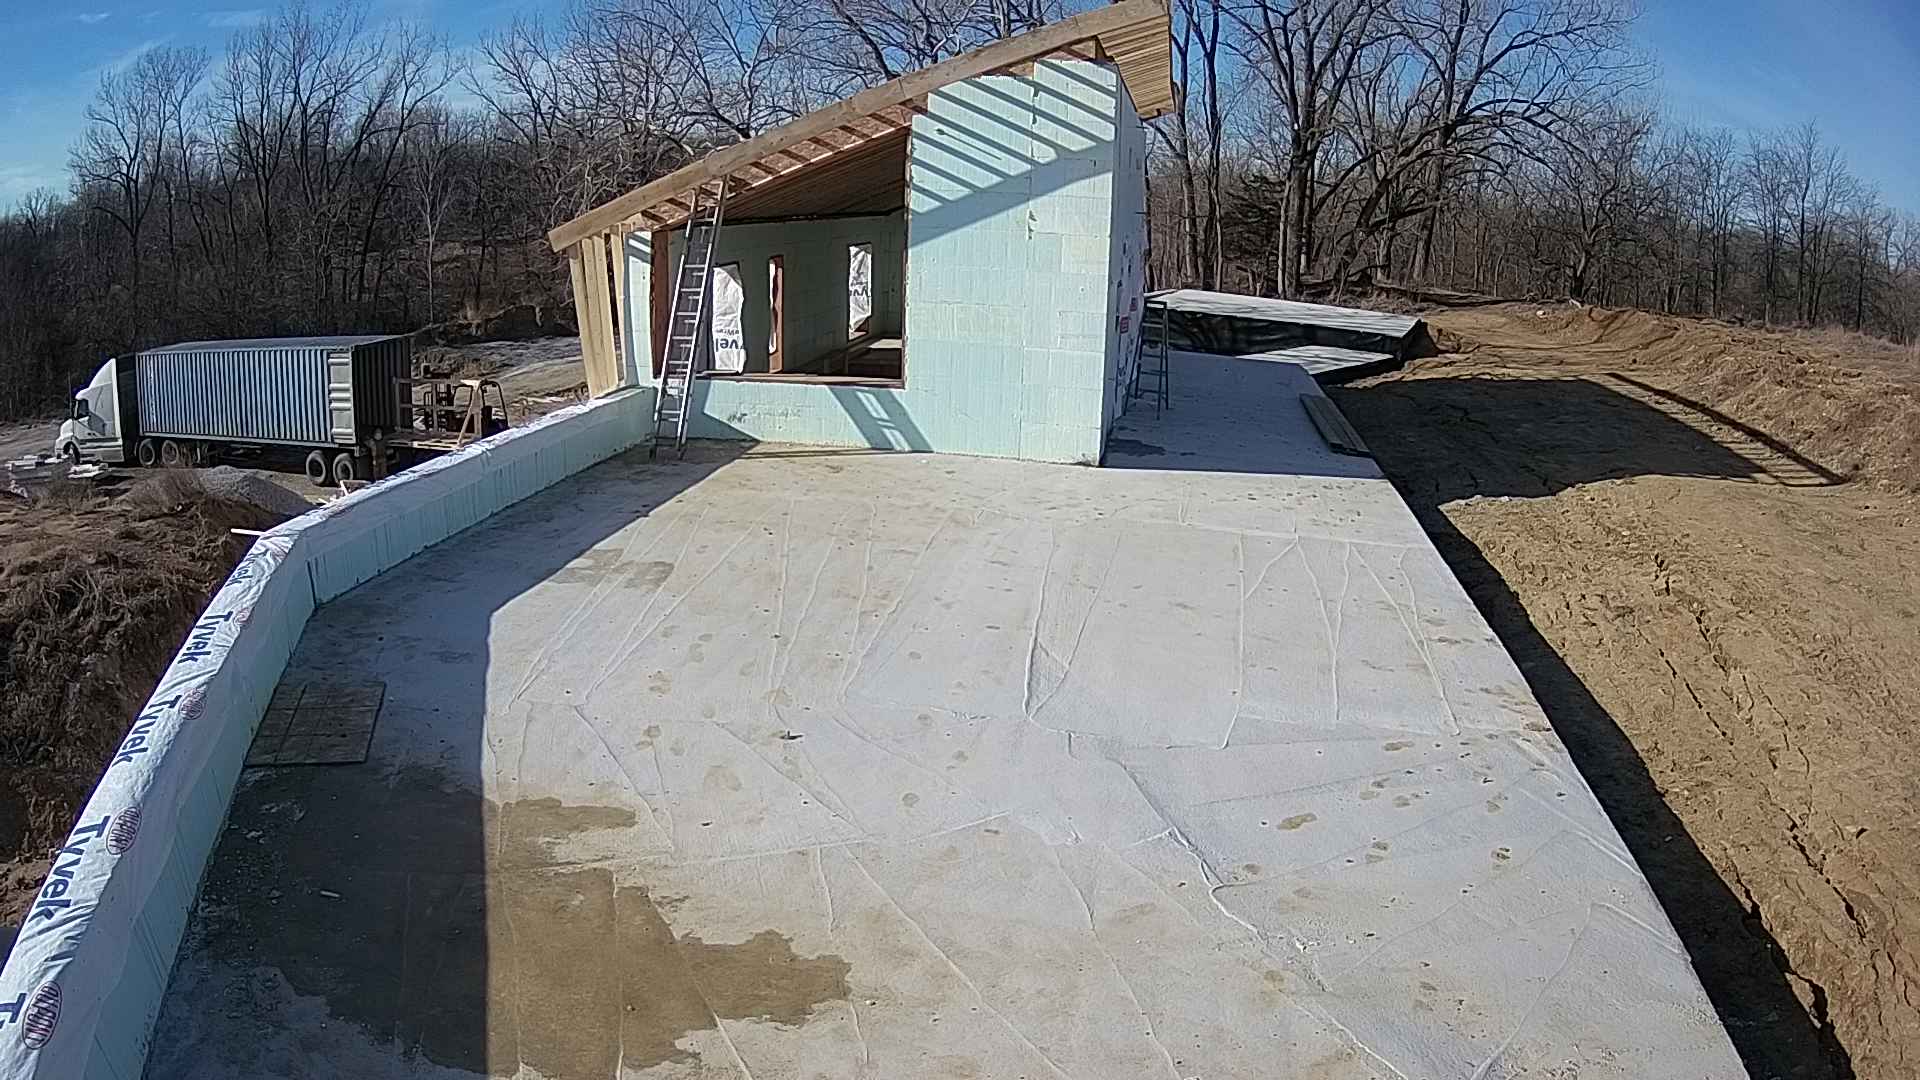
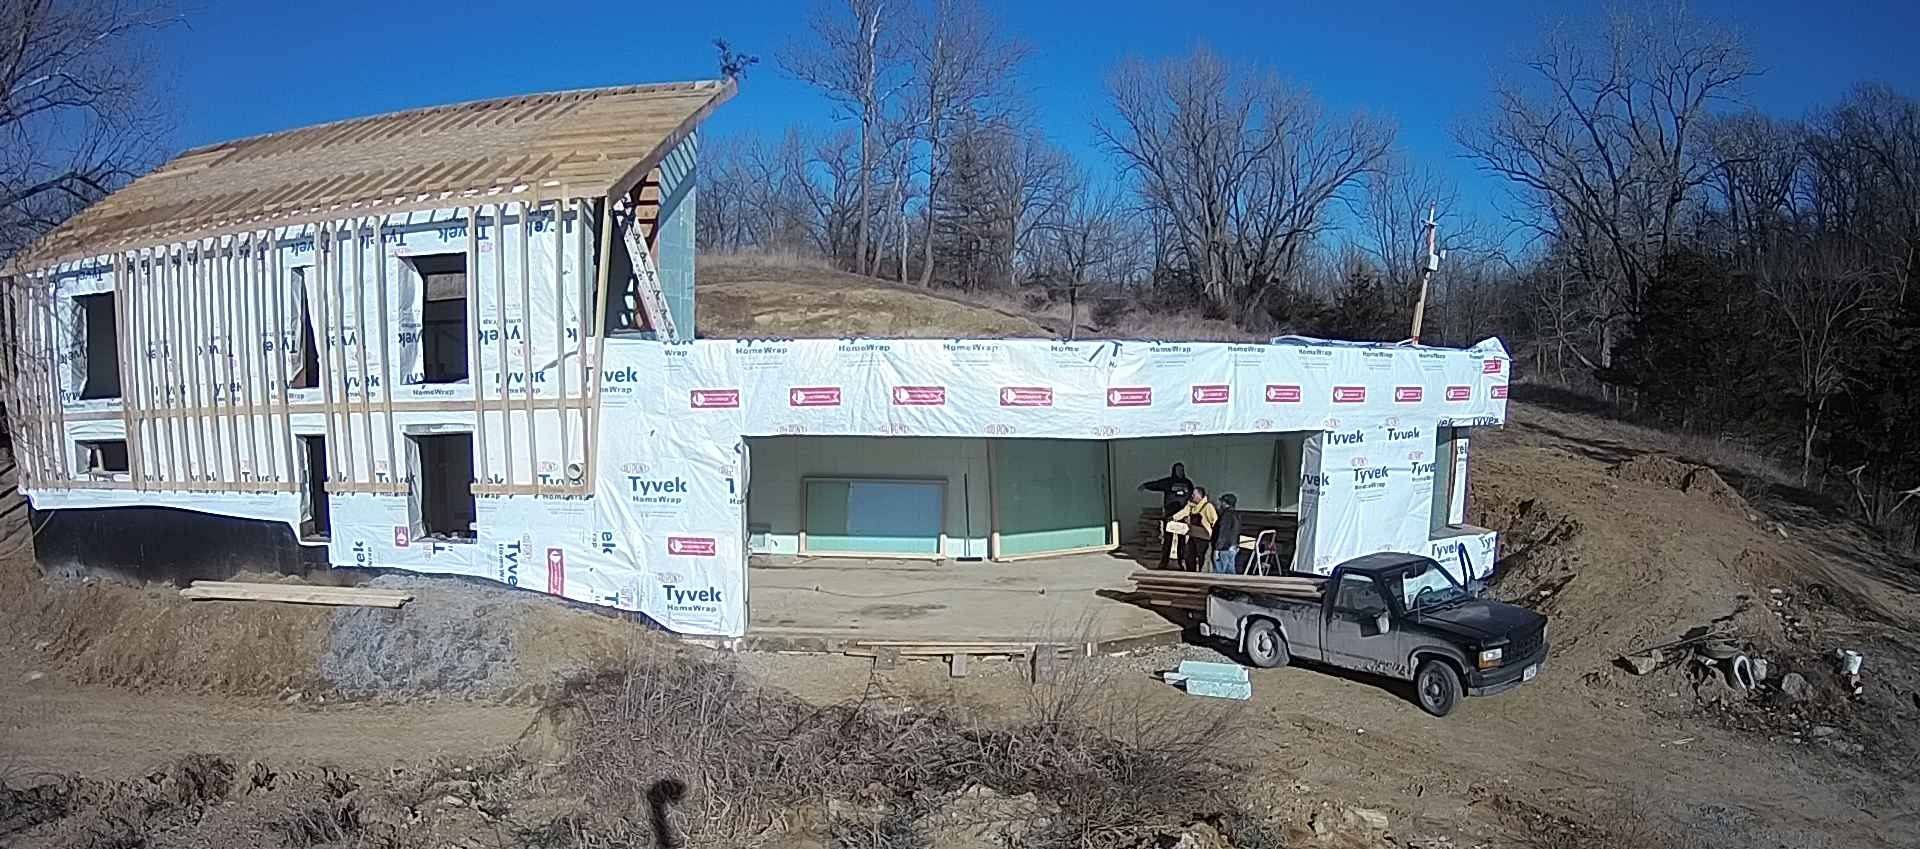
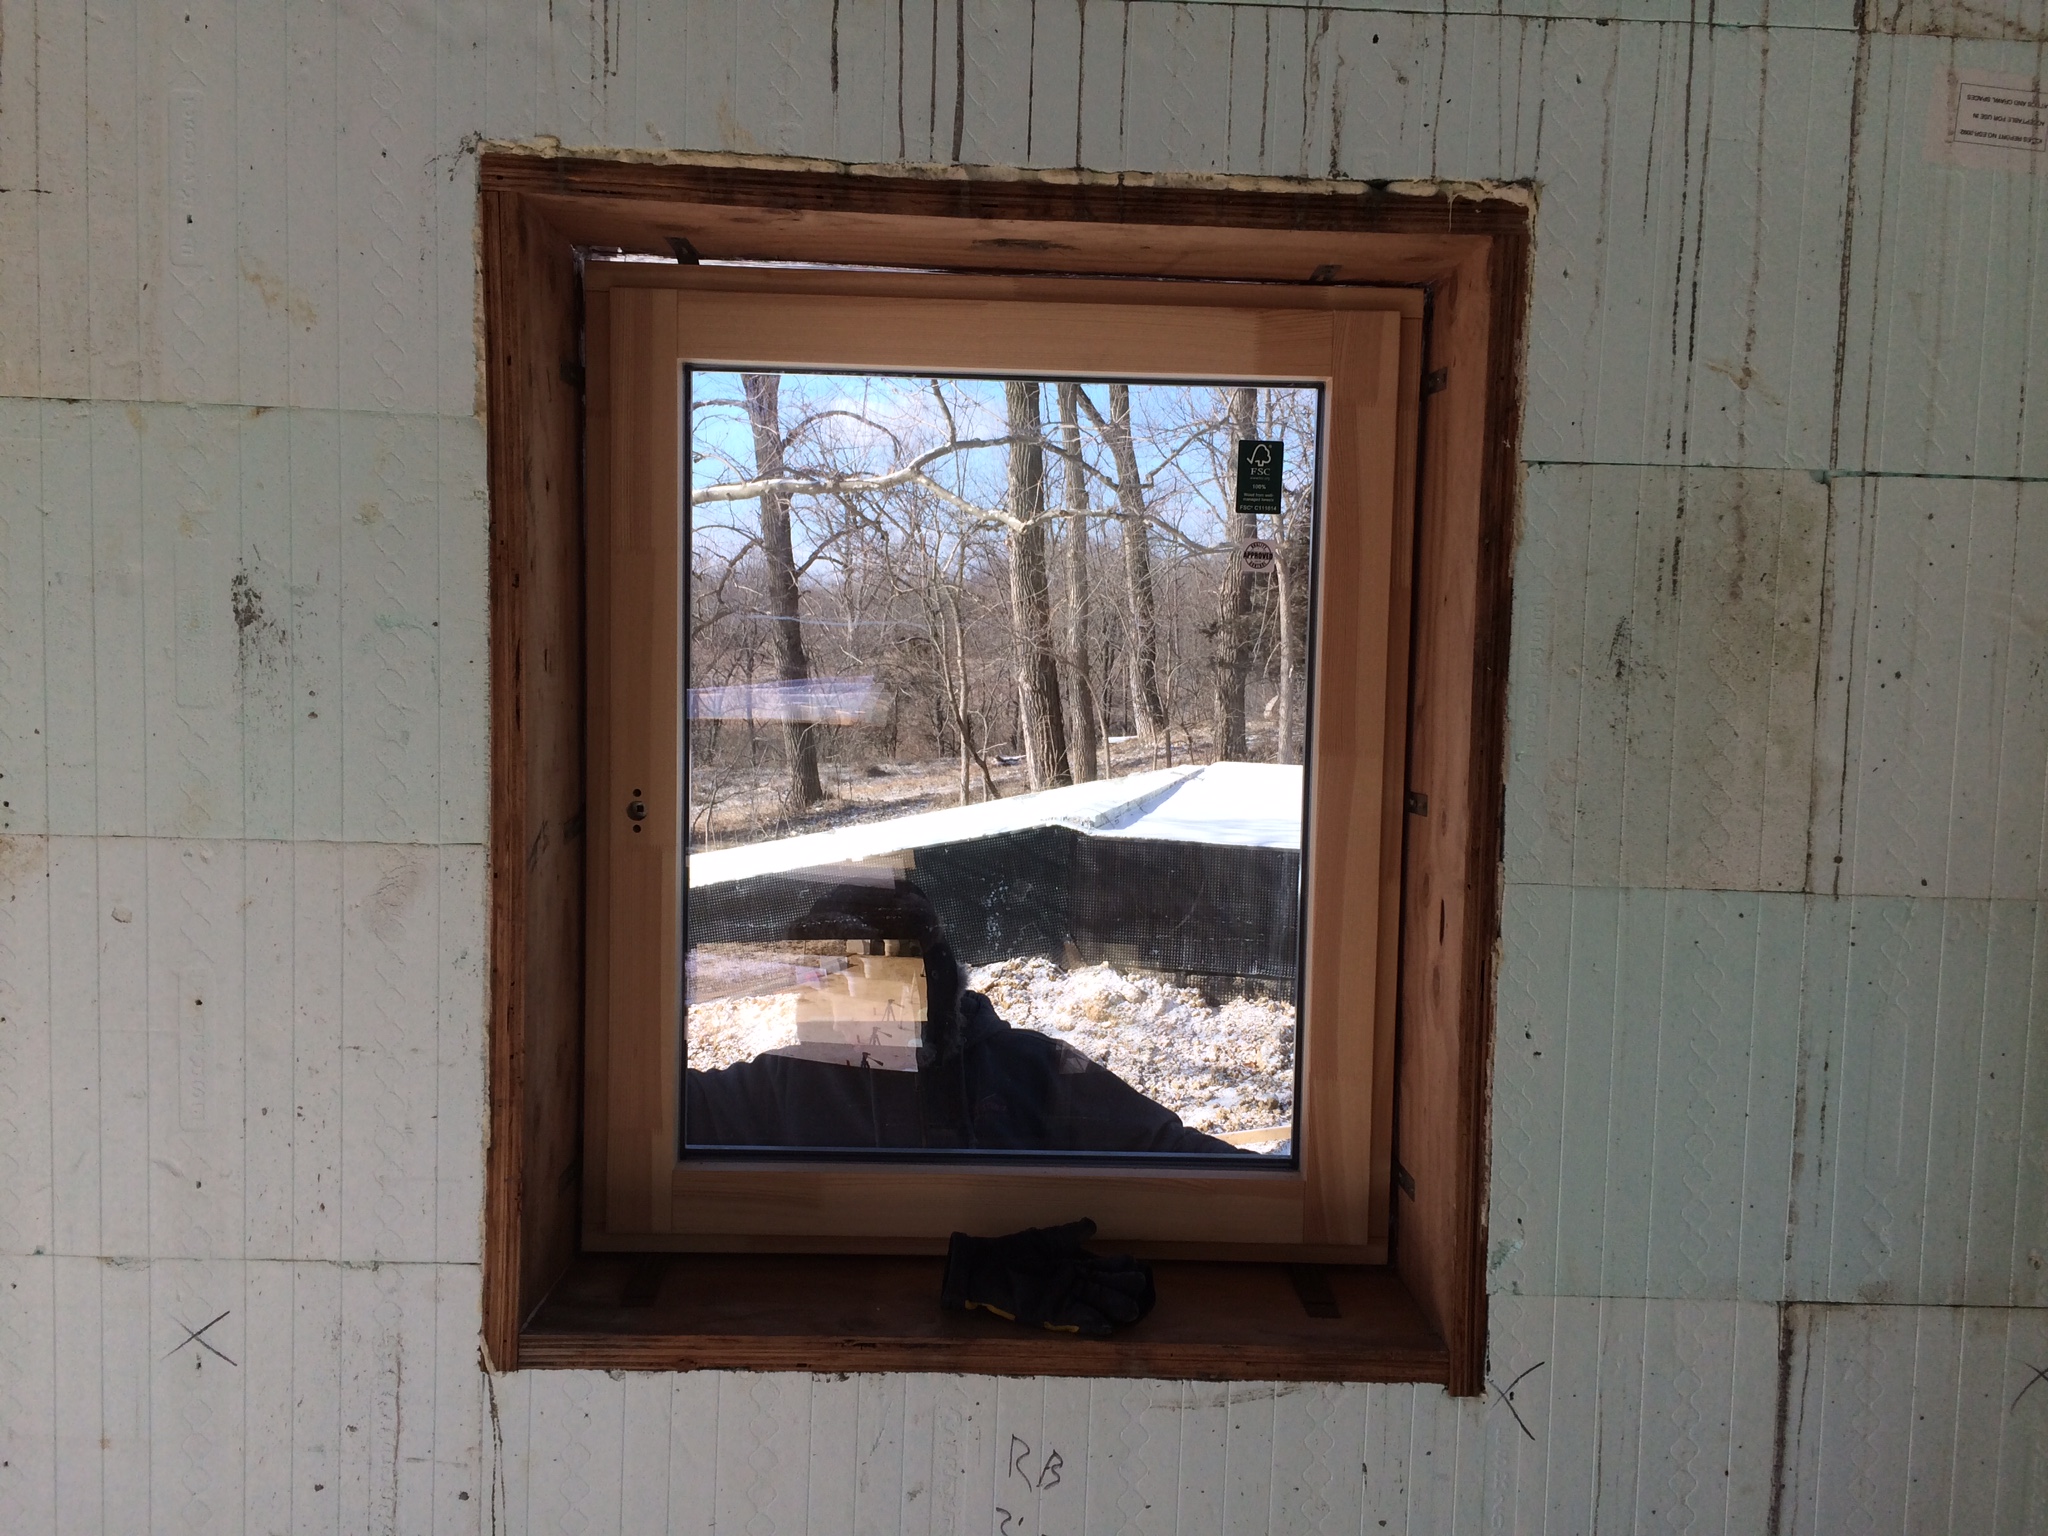
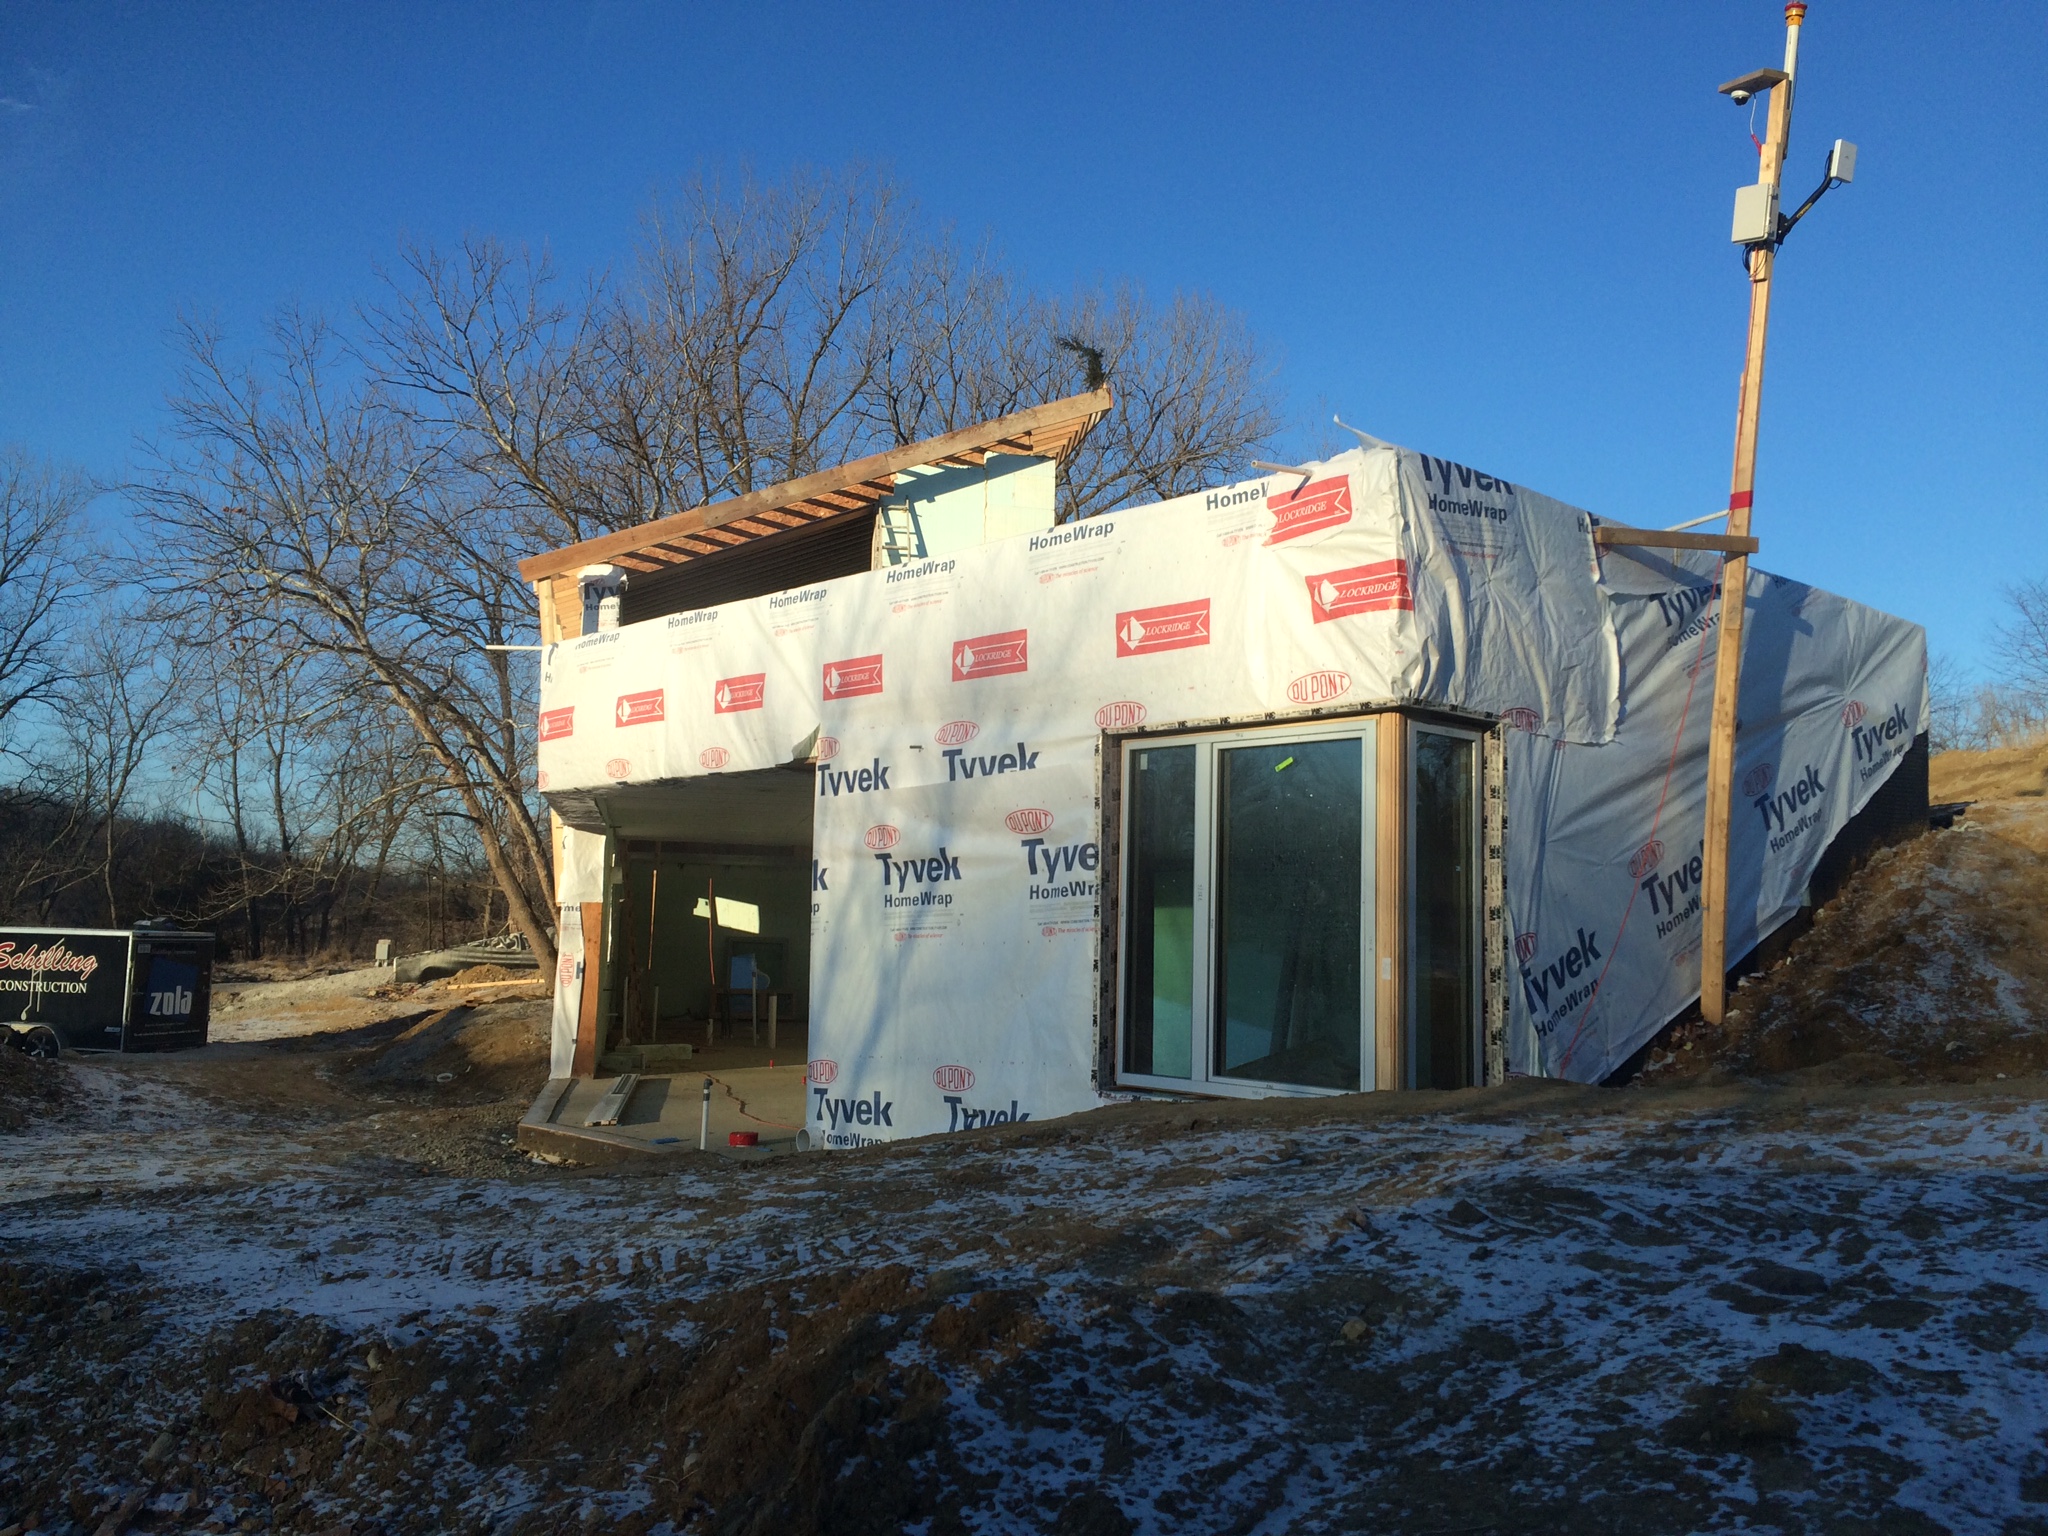

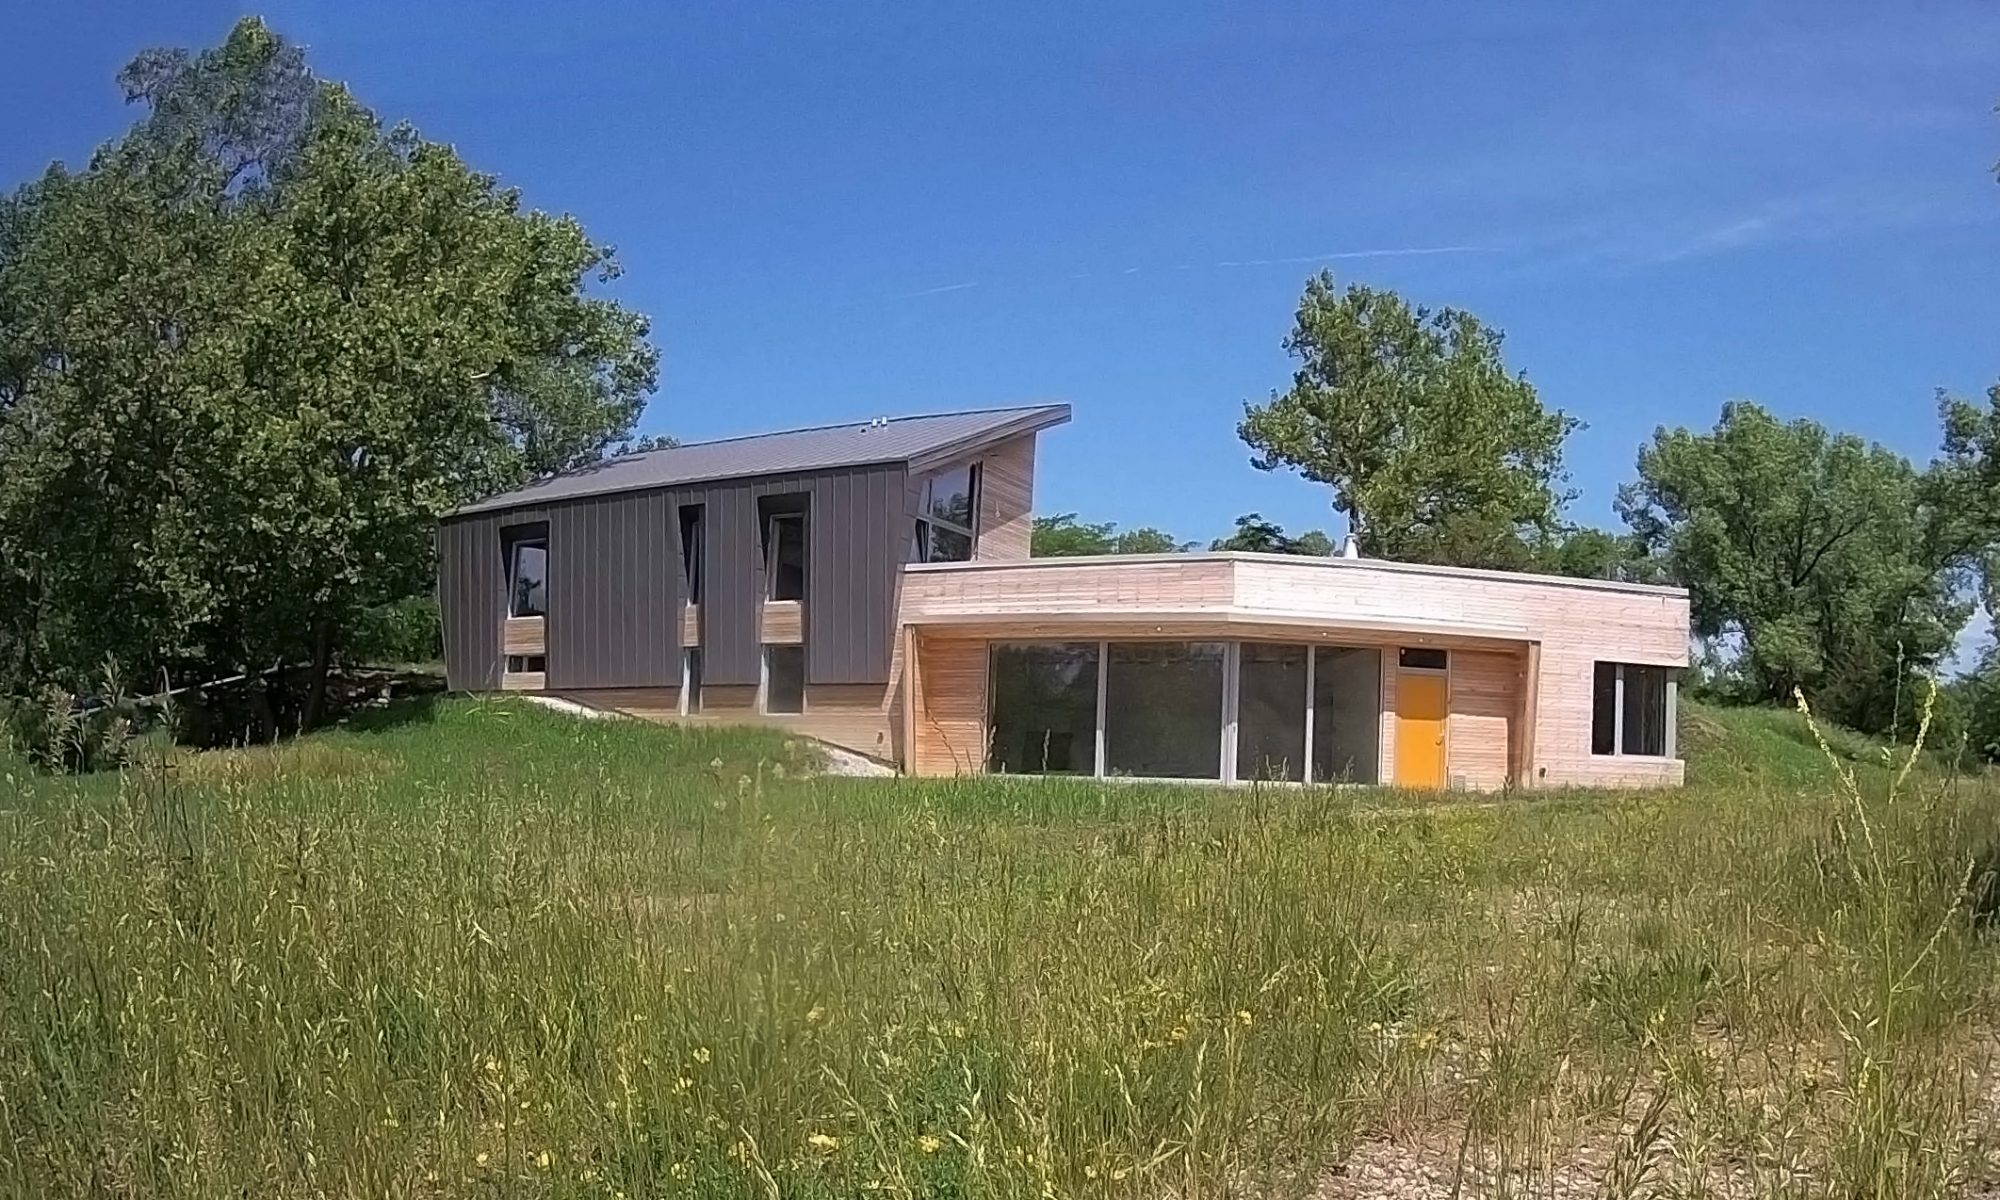
With the windows in, the house looks great (albeit a little muddy since it rained in the middle of the process) — and was already feeling significantly warmer than the outside temperature. (More on this later.)